Students: Upload a video to Microsoft Stream and share with Teams class site
Uploading a video to Microsoft Stream
Students: Upload a video to Microsoft Stream and grant viewing access to your Teams class site, which includes your instructor. You can also upload and share the video with just your instructor.
- Go to office.com. If you haven't recently logged in to Office 365, you may be prompted to sign in.
- The Office 365 home appears. If you don't see the Microsoft Stream icon, click or tap the App Launcher icon
 in the upper left. A menu appears with a list of Apps. If you still don't see Stream listed, click or tap All Apps. Then select the Stream icon.

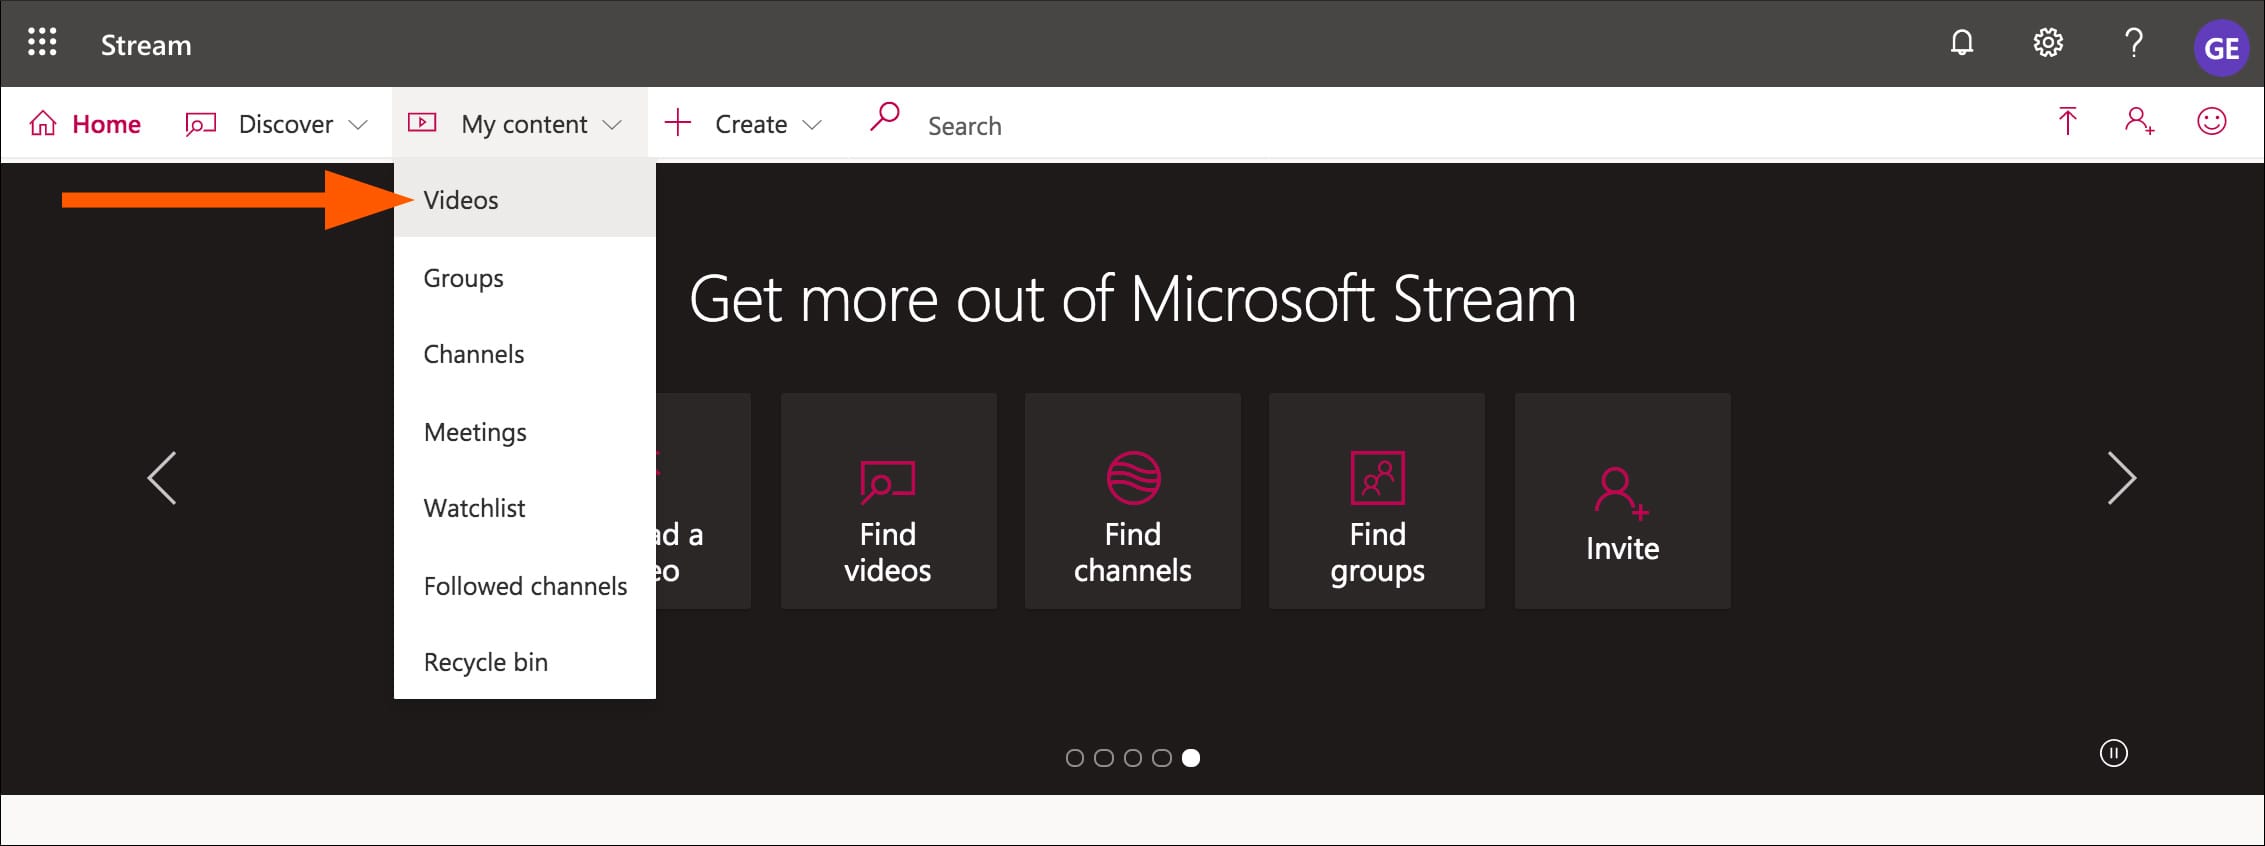
- Click or tap My Content > Videos.
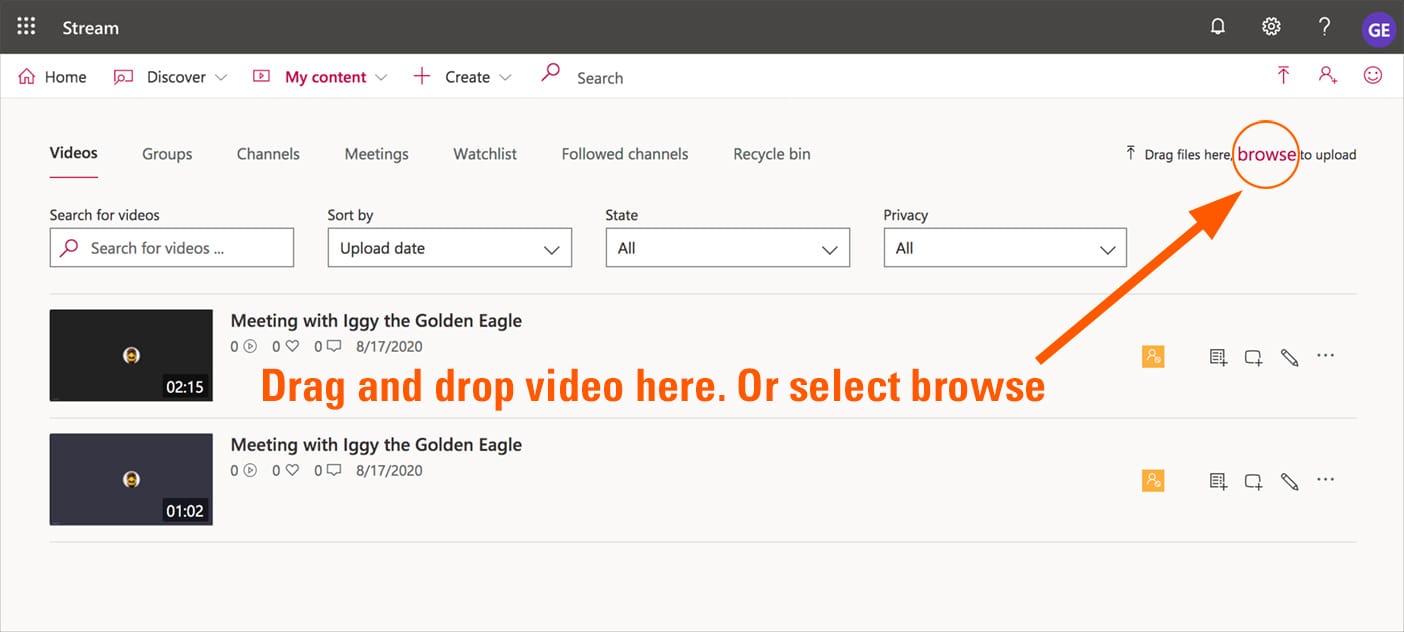
- A listing of your videos appears. You can drag and drop a video into the My Videos page to upload it to Microsoft Stream. Or you can click or tap the browse link.
- If you are prompted for a default language, select a language from the drop-down menu (e.g., English) and click or tap Save.

- Your video starts uploading. When uploaded, the publish button appears and processing begins. While the video processes, enter the video name and a brief description.

Setting permissions for your class to watch your video
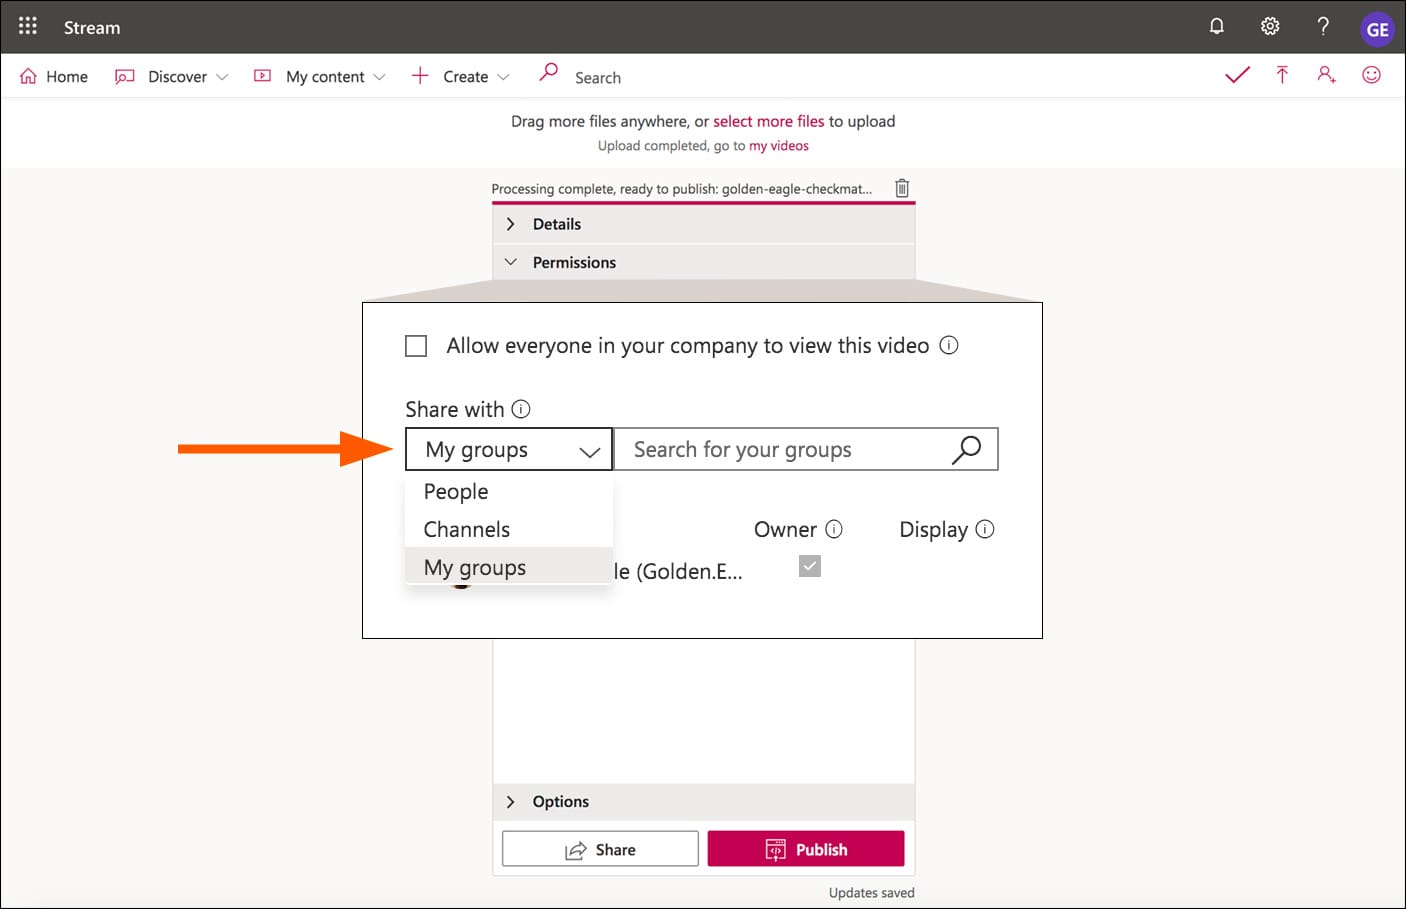
- Click or tap the Permissions section. Note that "Allow everyone in your company to view this video" is unchecked, which prevents all Marquette users from viewing the video.
In the "Share with" drop-down menu, select My groups.
In the "Search for your groups" text box, enter the course subject abbreviation (e.g., ADPR) for your Teams class site.
Click or tap the magnifying glass icon to search.
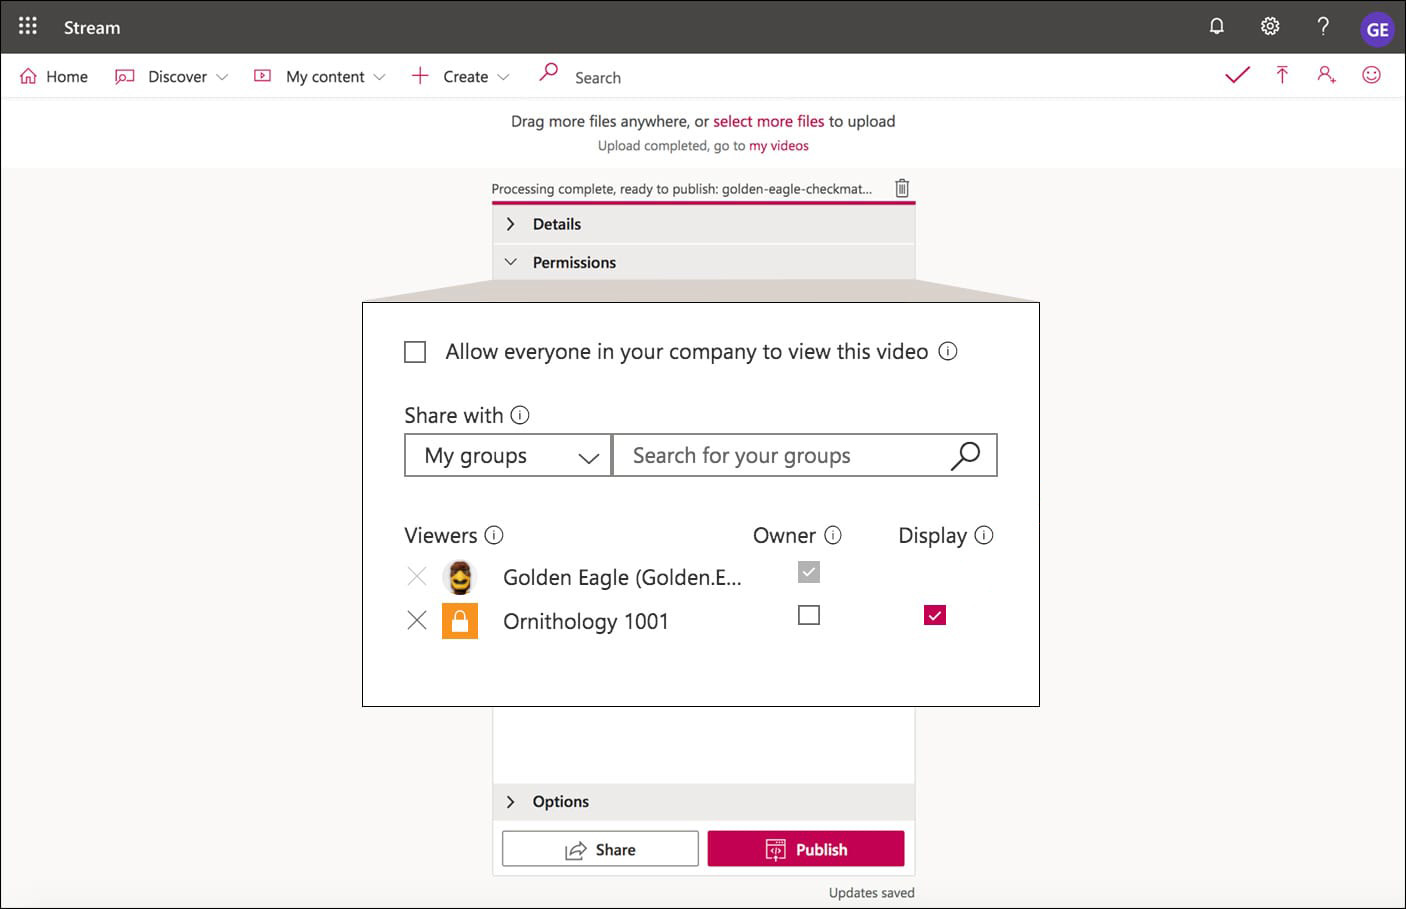
- Search results for "My groups" appear. Select your Teams class site from the results. In this example, the Ornithology 1001 Teams class site is selected.

- Now the Ornithology 1001 Teams class site shows as having viewing permission to the video.
- Click or tap the Details section to close the Permissions section. When the video finishes processing, you can select a thumbnail image that will appear before the video is played. If your video is long and still processing, keep the browser window open while processing. Microsoft Stream will send you an email message when processing is complete.

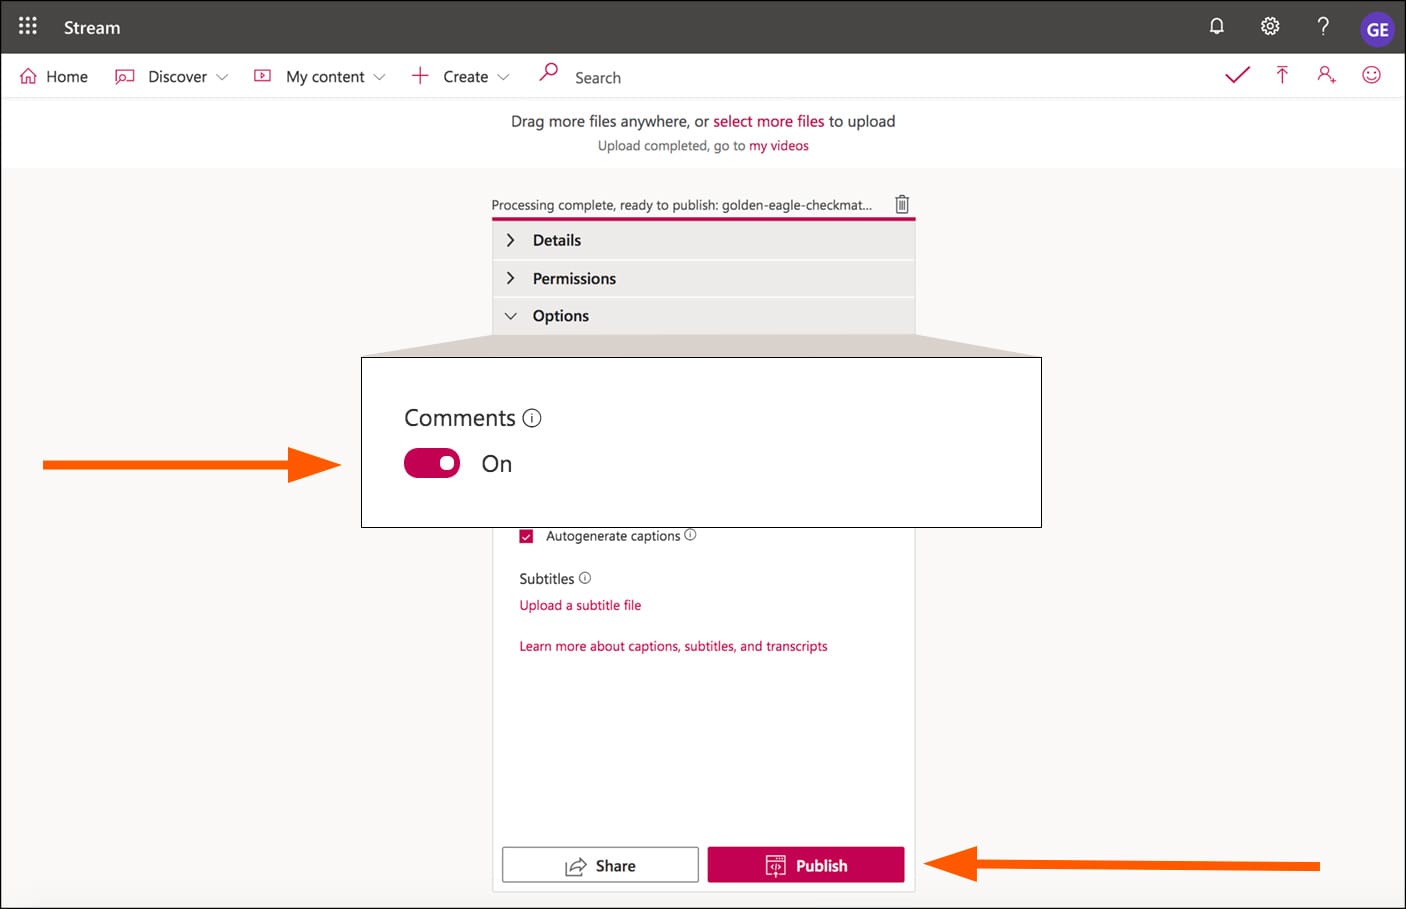
- Click or tap the Options section. Decide if you want to keep comments for the video on or if you prefer comments turned off. Click or tap Publish.
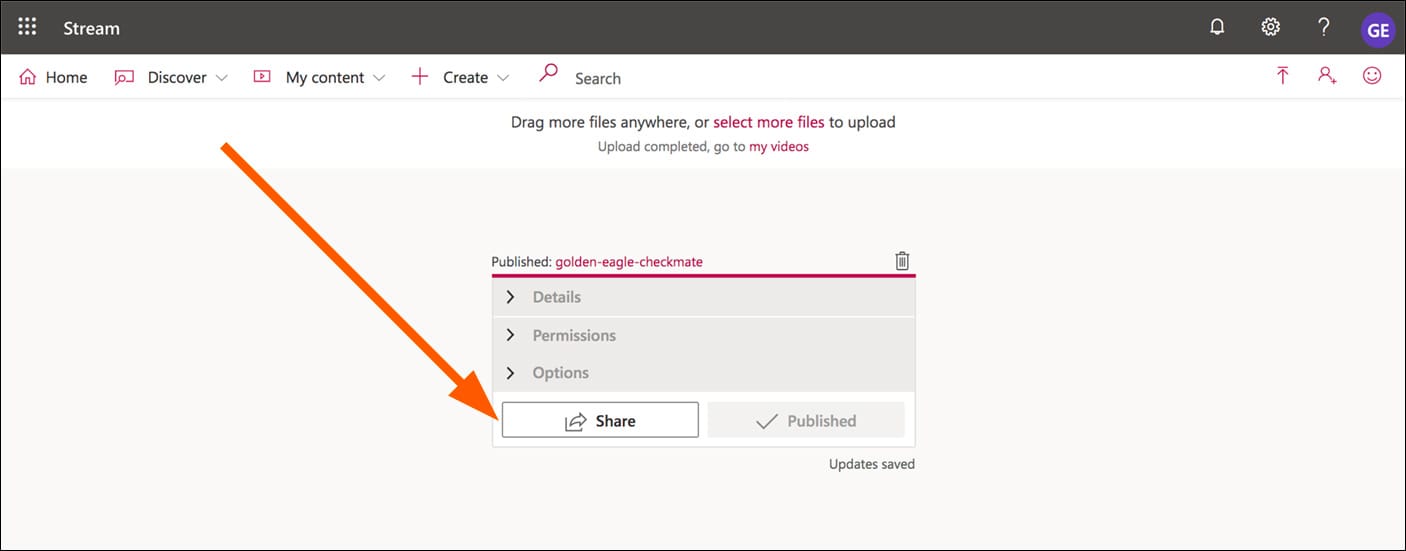
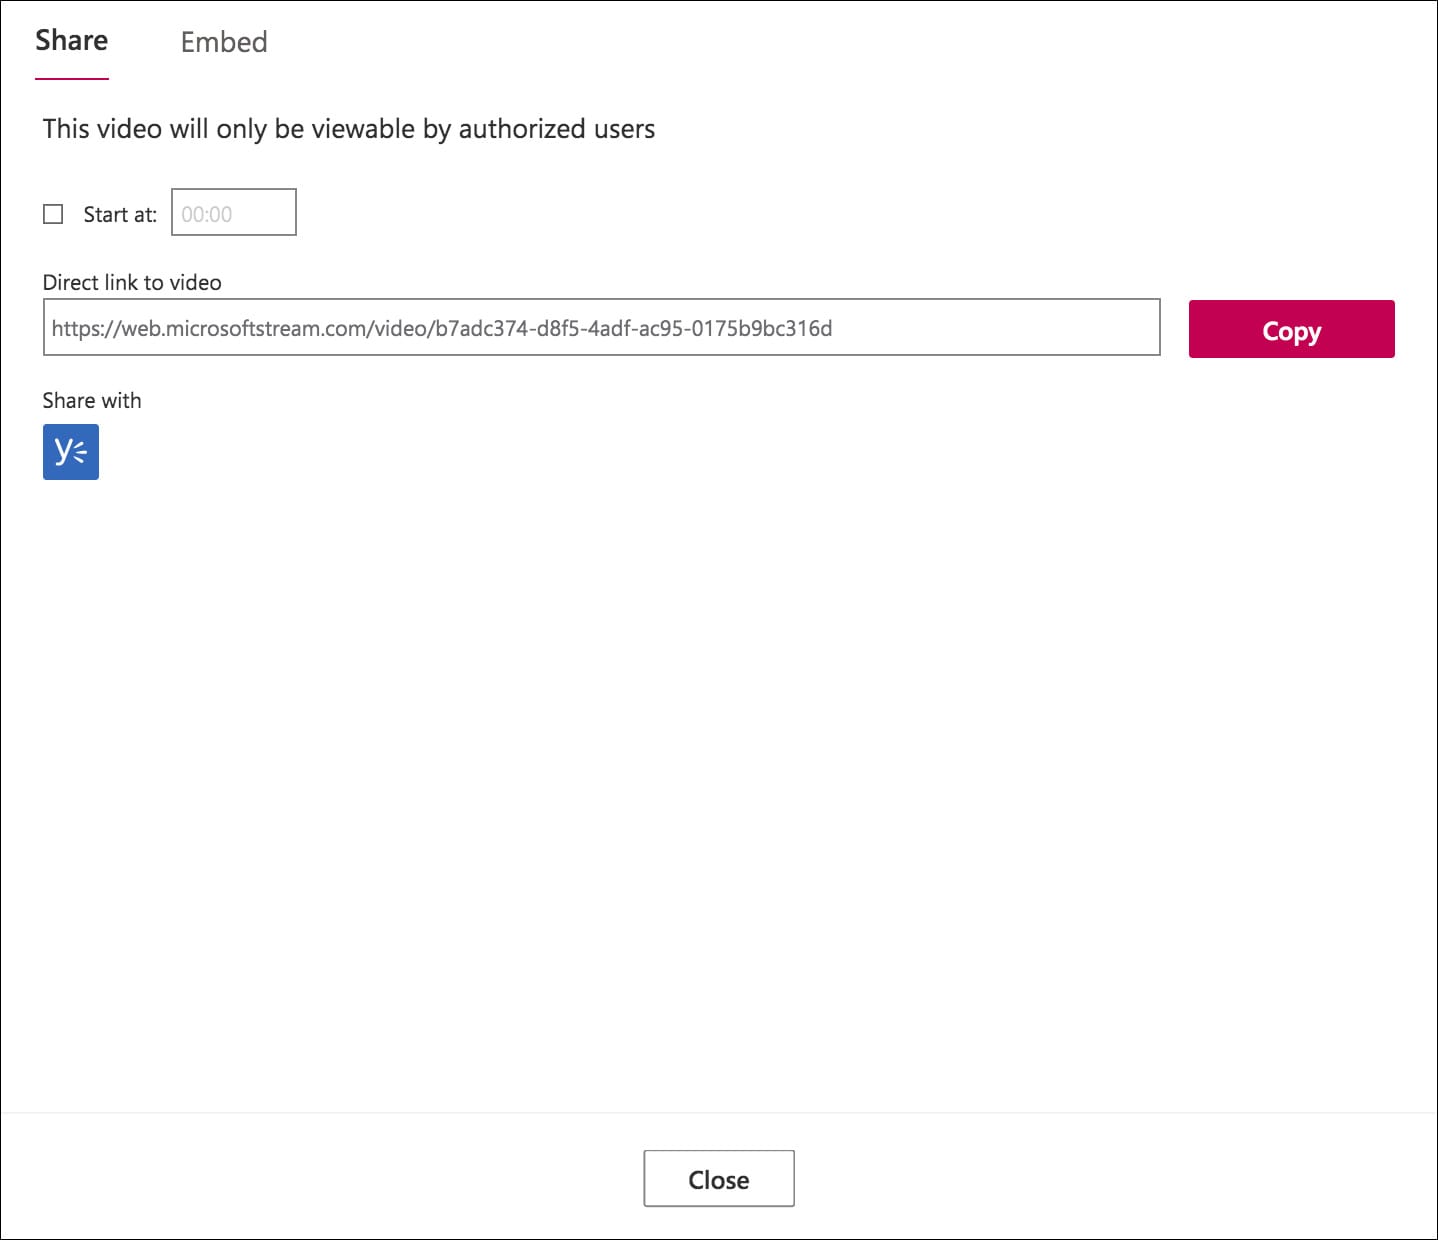
- Your video is published with viewing permissions for the members of your Teams class site. Now you'll need to share a link, so your class and instructor knows where to view the video. Click or tap the Share button.
- A sharing screen appears with a web address to share the video with members of your Teams class site. Click or tap the Copy button to copy the web address for sharing. Click or tap the Close button.
- To return to the My videos page, click or tap the my videos link. Share the link you copied with members of the Teams class site.
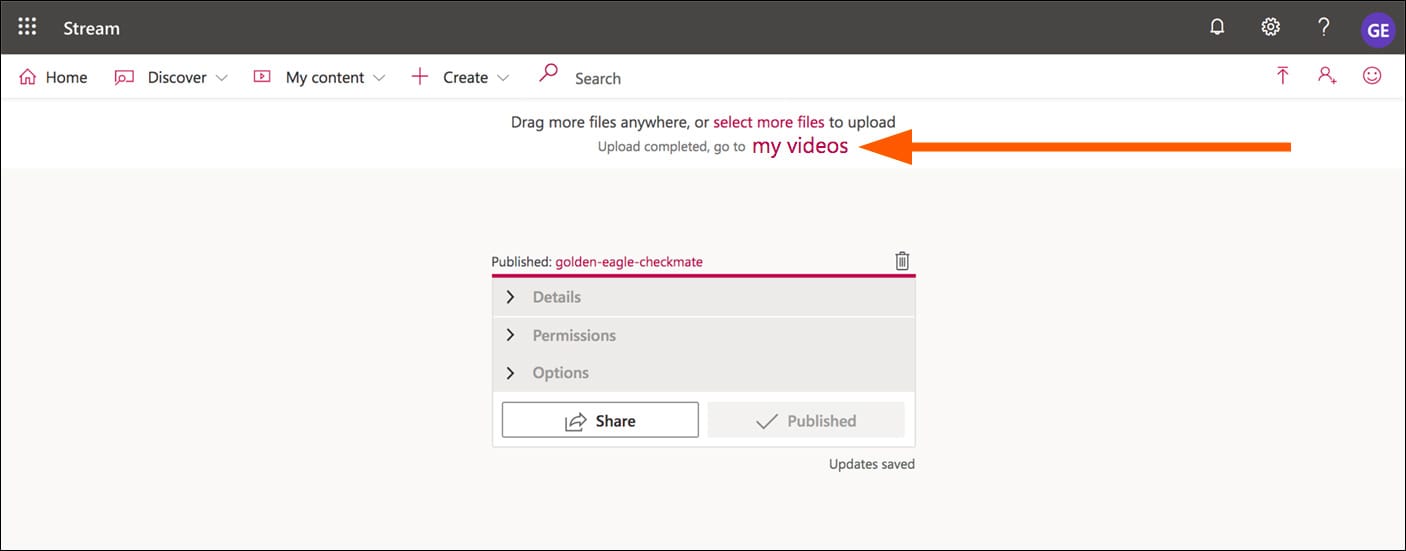
You have successfully uploaded a video to Microsoft Stream, granting viewing permissions to only members of your Teams class site.
Questions?
Please contact the IT Services TechSquad for questions about Microsoft Stream.