

These faxing instructions apply to the following Canon copier/printer model numbers:
5050N, 6055, 6065, C5035, C5045, C5051, C7055
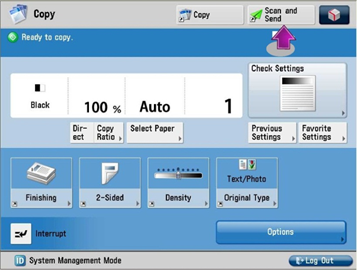
- Swipe your MU ID card at the Printer/Multifunction device to login. If you do not have your card, tap AD login and follow the prompts.
- Select Scan and Send.
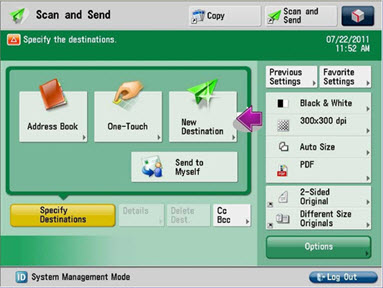
- Select New Destination.
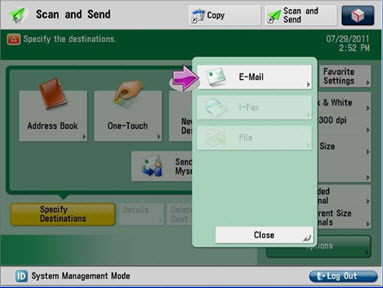
- Select E-Mail.
- Using the onscreen keyboard or numeric keypad, enter the fax number of the recipient. Press OK.
- For faxes within the 414 area code, you would enter a "@fax.mu.edu" email address based on the
phone number, plus a "9" prefix.
Example: For the fax number 288-3300, you would enter 92883300@fax.mu.edu - For faxes outside the 414 area code, you would enter a "@fax.mu.edu" email address based on the
phone number with area code, plus a "91" prefix.
Example: For the fax number 262-555-1212, you would enter 912625551212@fax.mu.edu

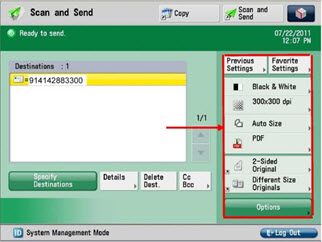
- Confirm the fax destination by selecting OK.
- The recipient will now be displayed as a destination. If necessary, make any changes on how the Canon device should read or process your document. Selection areas are outlined right.
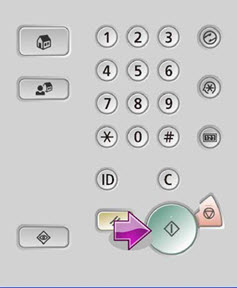
- Place the document to be scanned into the document feeder or on the platen glass and press the Start button located on the control panel.
Learn more about Enterprise Fax
For more information, contact the IT Services TechSquad.
