-
- Online Course Development
- Online Program Development
- Program Guidelines
- Accessible Technology
- Center for Teaching and Learning
- Contact Us
- For faculty and staff questions about online teaching or course design, submit your questions to the Learning Technologies portal.
Walk-in Consultation Hours for Faculty and Staff
Monday-Friday 9 a.m. - 3 p.m.
Room 326 Raynor Library
For more in-depth questions and course consultations, schedule an appointment with one of our Instructional Design and D2L Specialists
PROBLEM WITH THIS WEBPAGE?Report an accessibility problem
To report another problem, please contact emily.newell@marquette.edu.
D2L ePortfolio
For Student Use
Objectives:
- Create and organize ePortfolio in D2L of selected items that represents learning. Examples of items include artifacts, collections, reflections, presentations, learning objectives.
- Share items with others by giving them permission to view, comment, assess or edit.
Step-by-Step Instructions
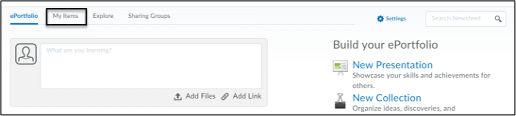
- Click ePortfolio on the D2L homepage.

- Select My Items to begin adding artifacts.
- Click the Add [1] button to upload the artifacts (i.e. files, images, links). Once the artifacts are uploaded, then click New Presentation [2].
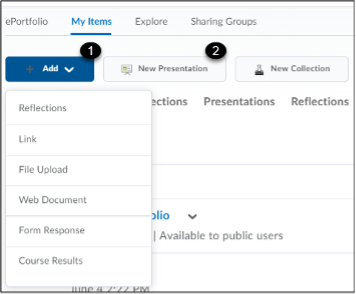
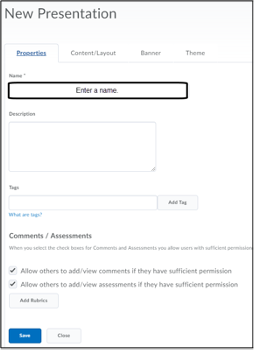
Note: It is not necessary to upload to Collections (folders). It is a way to organize files. - Enter a name for your presentation. A description and tag are optional.
- Click the Content/Layout [1] tab to add pages [2] which will be the headers to your presentation – e.g., Home, Research Project, Compositions, and Reflection. Select Add Component [3] to upload files from the My Items area. View your presentation [4] to determine if you would like to change the layout. If so, click Edit Page Layout [5].
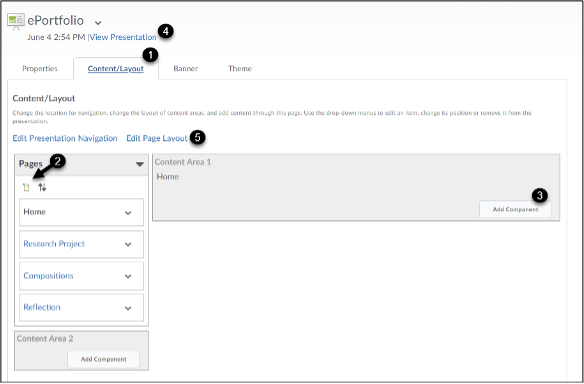
Note: Under Add Component, use the Text area link to add content to the page for user ease when viewing your ePortfolio. Otherwise, only links will display for user when artifacts are used.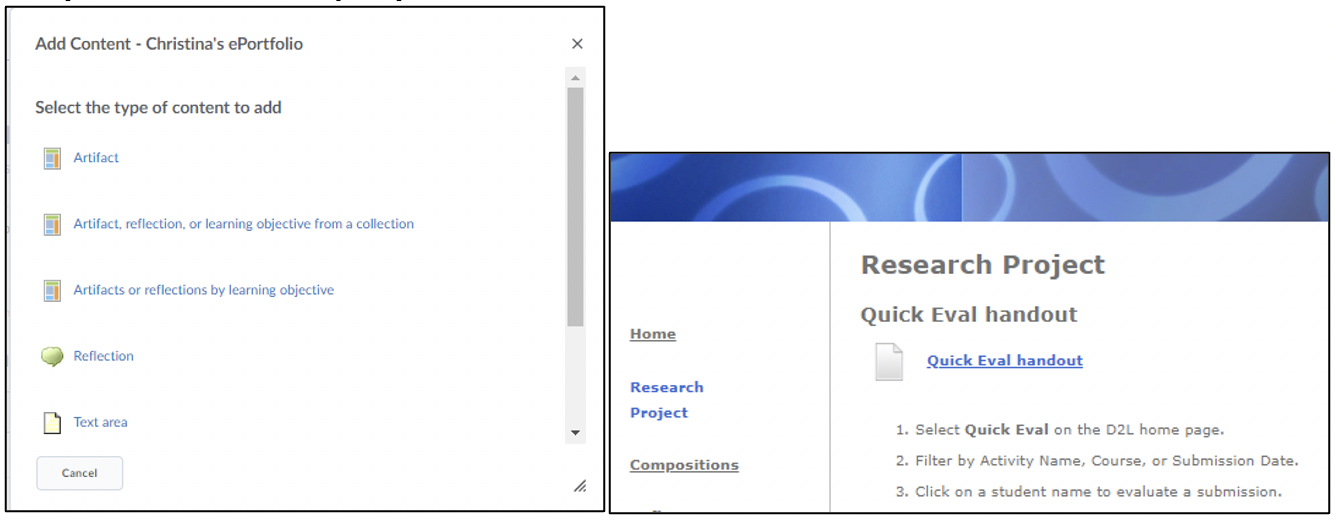
- To reorder your pages [1] or individual items within a page [2] click on the arrows.

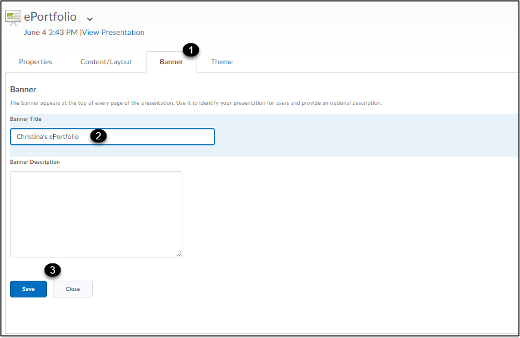
- Click the Banner tab [1]. Enter a banner name [2]. Description is optional. Click Save [3].
- Select a theme (presentation style) from the Theme tab.
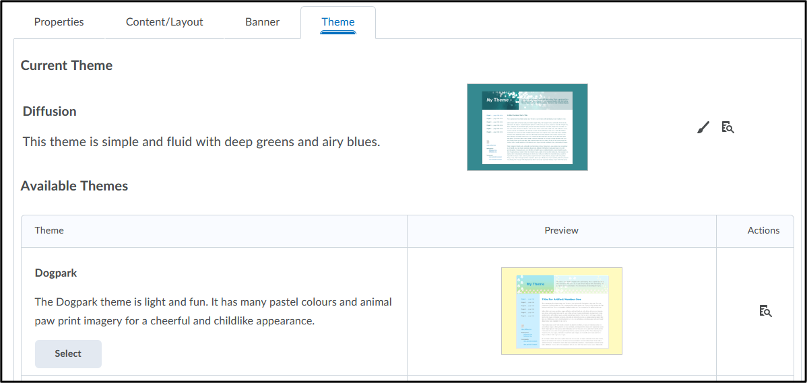
- Preview theme by clicking the magnifying glass.

- Click Select and then Set Theme to choose your preferred style.
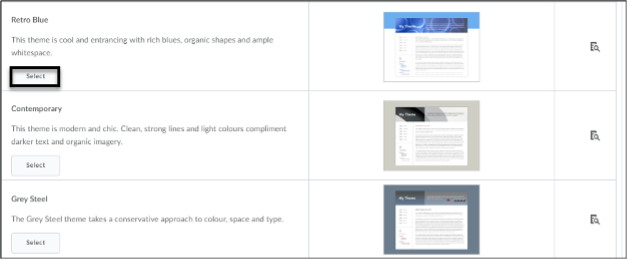
- Preview theme by clicking the magnifying glass.
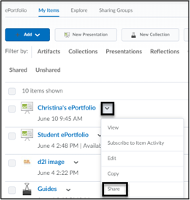
- Once your ePortfolio has been created, under My Items, select Share from the drop-down menu next to the title of your ePortfolio.
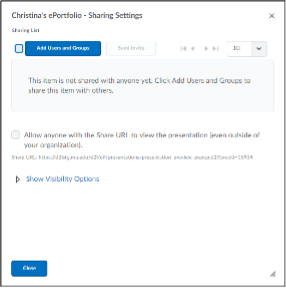
- There are a couple of options to either share within or outside the organization. Send invitation with the Add Users and Groups button or share a URL that will allow anyone to view.
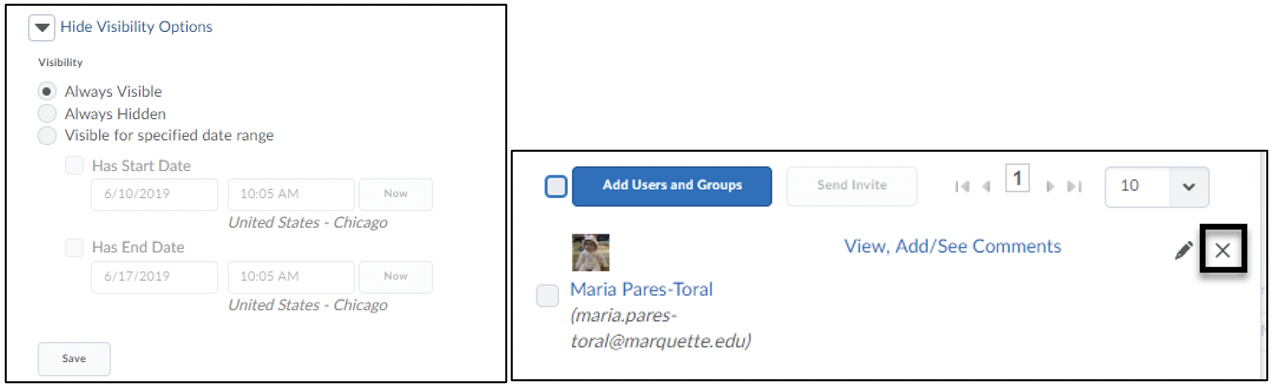
If you choose to share with the Add Users and Groups button, browse by entering a user’s last name or group name to search and click on the individual or group name. Assign permissions [1] and click Share [2]. If successful, on the My Items page, a person icon will display next to the number of individuals that have access to the ePortfolio [3].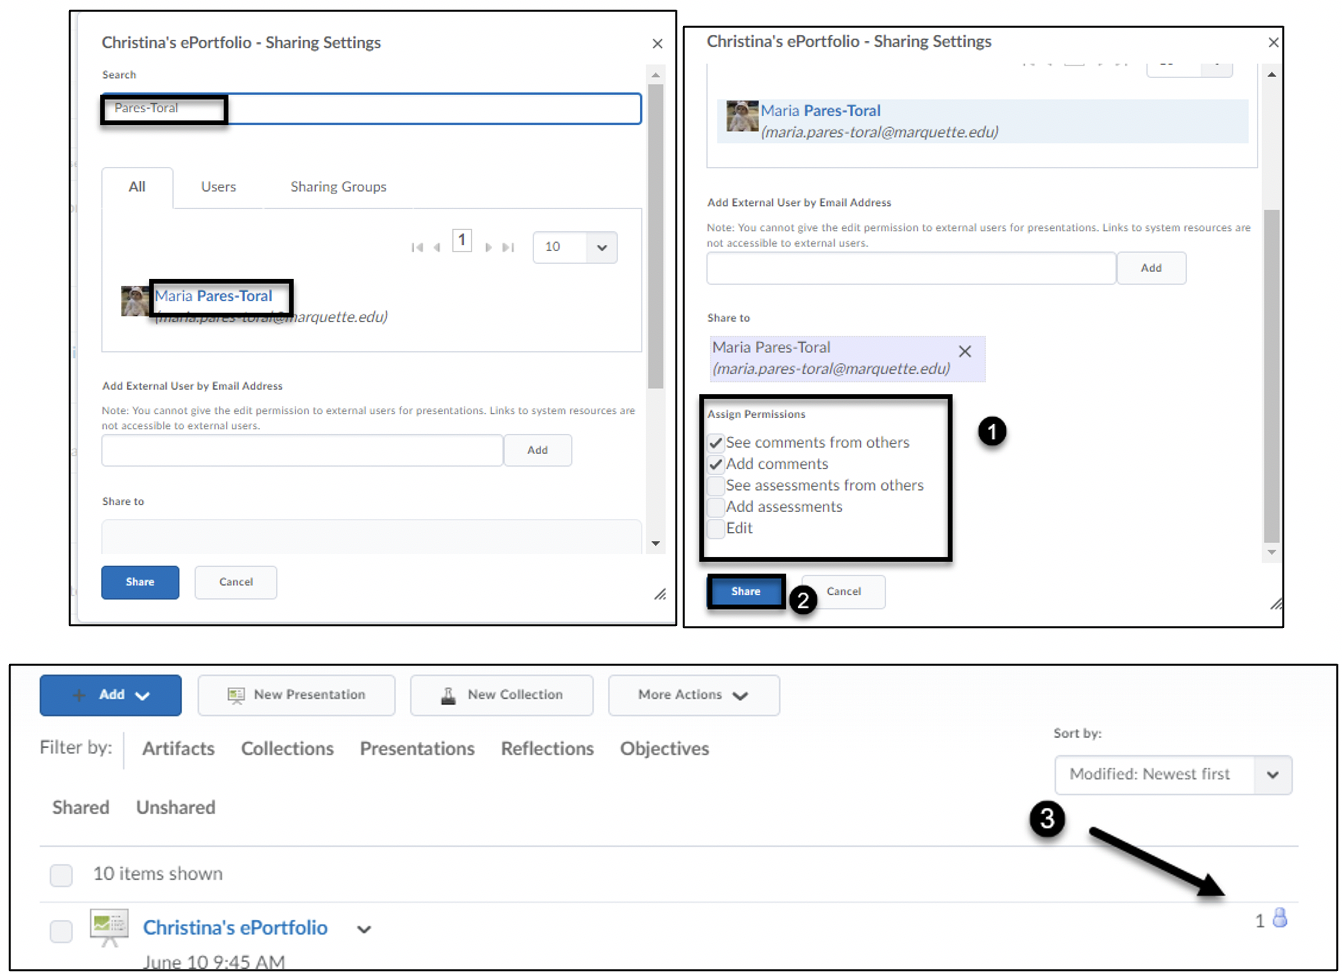
Note: By default, the visibility is always on. Add a specified date range for the user’s access to the ePortfolio by clicking the “Show Visibility Options” link. To delete the user’s access, click the person icon and click X.