
-
- Online Course Development
- Online Program Development
- Program Guidelines
- Accessible Technology
- Center for Teaching and Learning
- Contact Us
- For faculty and staff questions about online teaching or course design, submit your questions to the Learning Technologies portal.
Walk-in Consultation Hours for Faculty and Staff
Monday-Friday 9 a.m. - 3 p.m.
Room 326 Raynor Library
For more in-depth questions and course consultations, schedule an appointment with one of our Instructional Design and D2L Specialists
PROBLEM WITH THIS WEBPAGE?Report an accessibility problem
To report another problem, please contact emily.newell@marquette.edu.
How to Create and Share a Microsoft Form
Overview:
This guide covers the steps necessary to create and share a poll/survey from Microsoft Forms across multiple platforms. It also covers the different questions types and features available in Forms. Do not use this as a replacement to D2l Quizzes or Tests.
Getting Started
- Navigate to Microsoft Forms in your Apps, if you are having trouble locating it you can always search for it in the search bar of your Office 365
- Once in Forms select the option to Create New Form
The difference between creating a new Form vs a new Quiz is that in Quizzes you can add answers and scores, as well as math equations, you can also provide feedback on the users selected answer - explaining why it is right or wrong.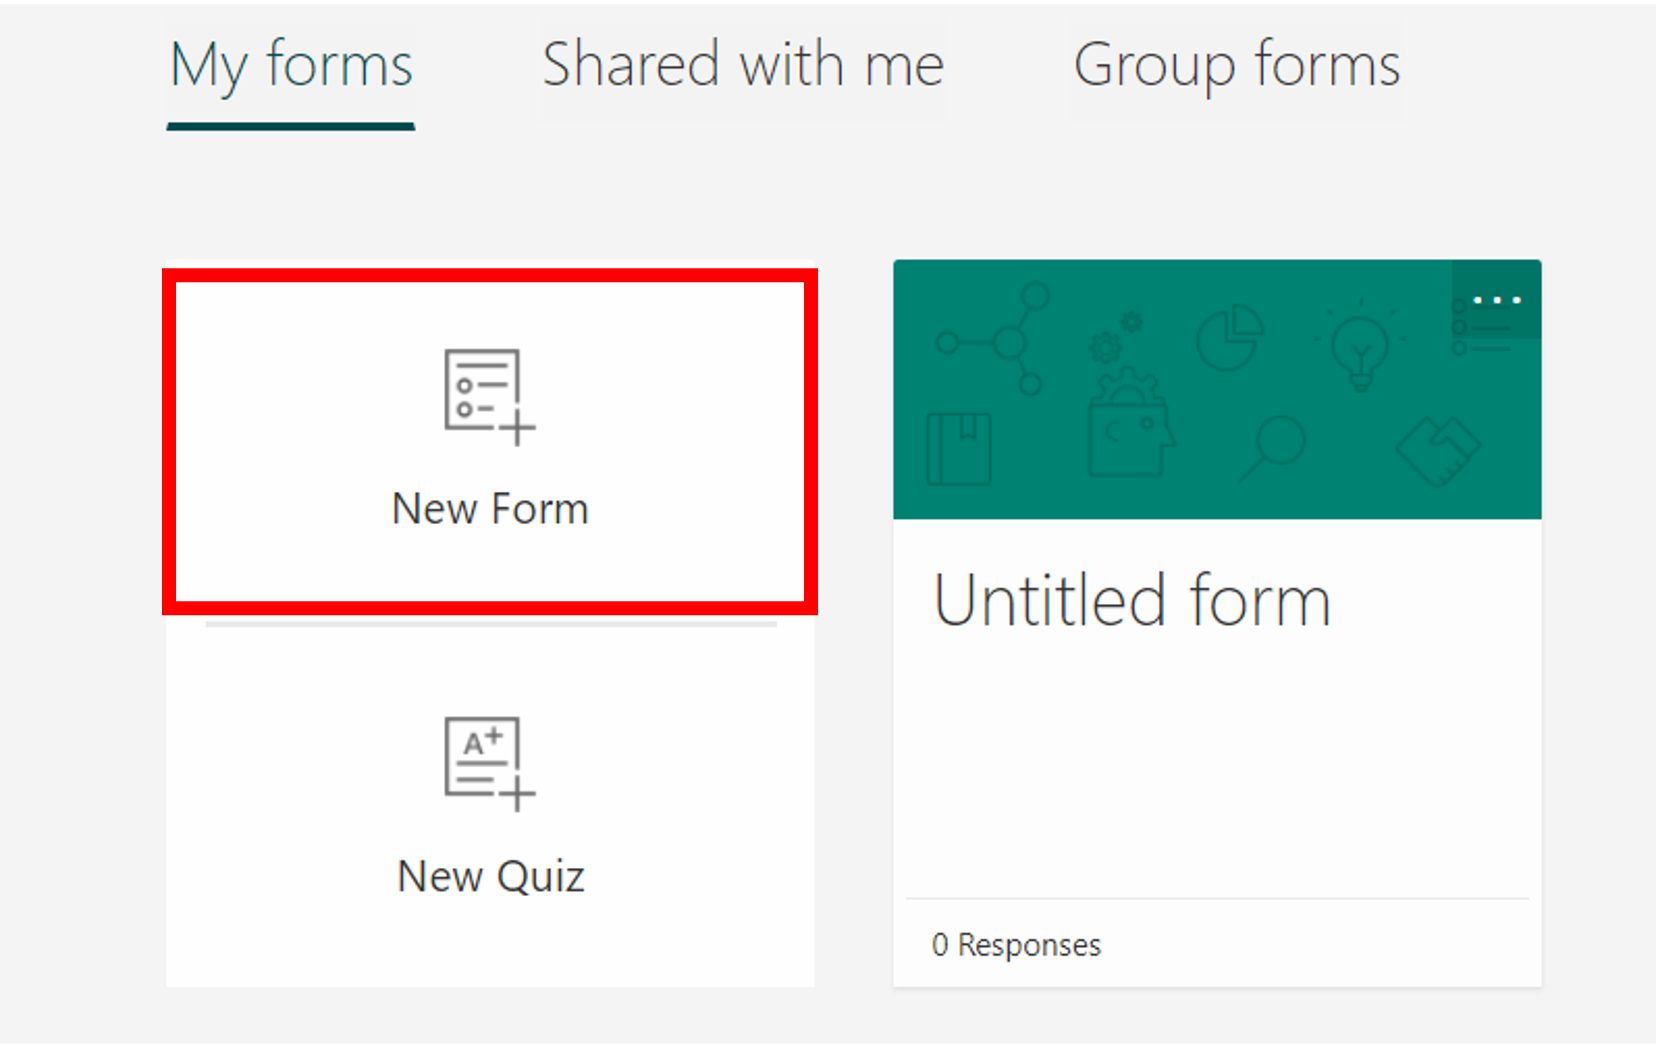
- You may also click the photo icon by the title of your form icon to include a picture from your computer, OneDrive, or the Web.
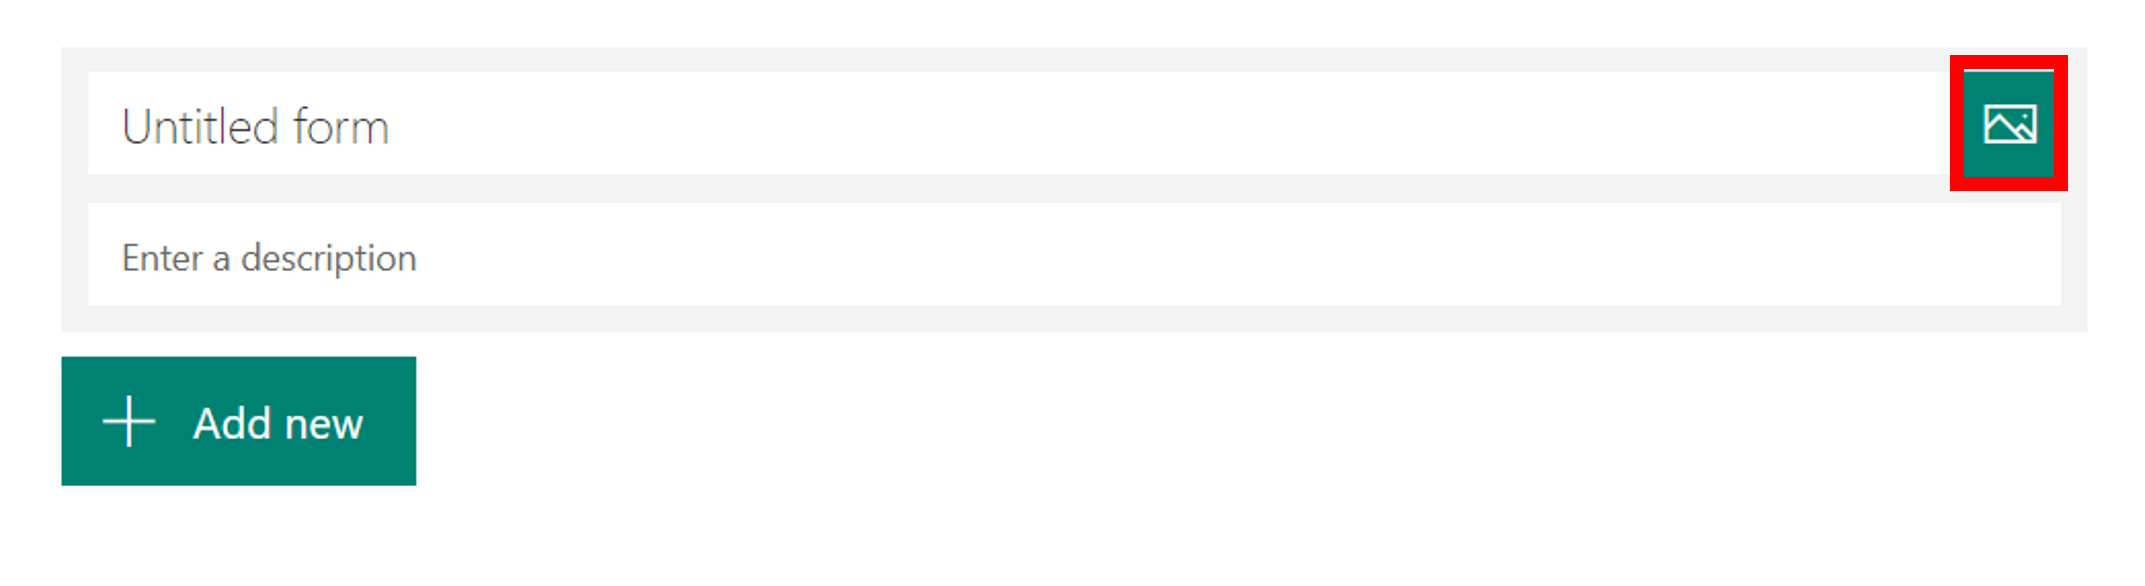
- The result will be a box with the title, description and picture you choose detailed inside.
- After you’ve set up your title you can get started on creating your Form.
Adding Questions
- Select the Add New button to add a question.
- You will have a list of options to select as your question type. The question types consist of Choice, Text, Rating, and Date and multiple other options when you click the down arrow.

Types of Questions and Options
Choice Questions
These questions allow for multiple choice answers.
- You can click Add Option to add more answers to your question for students to select.
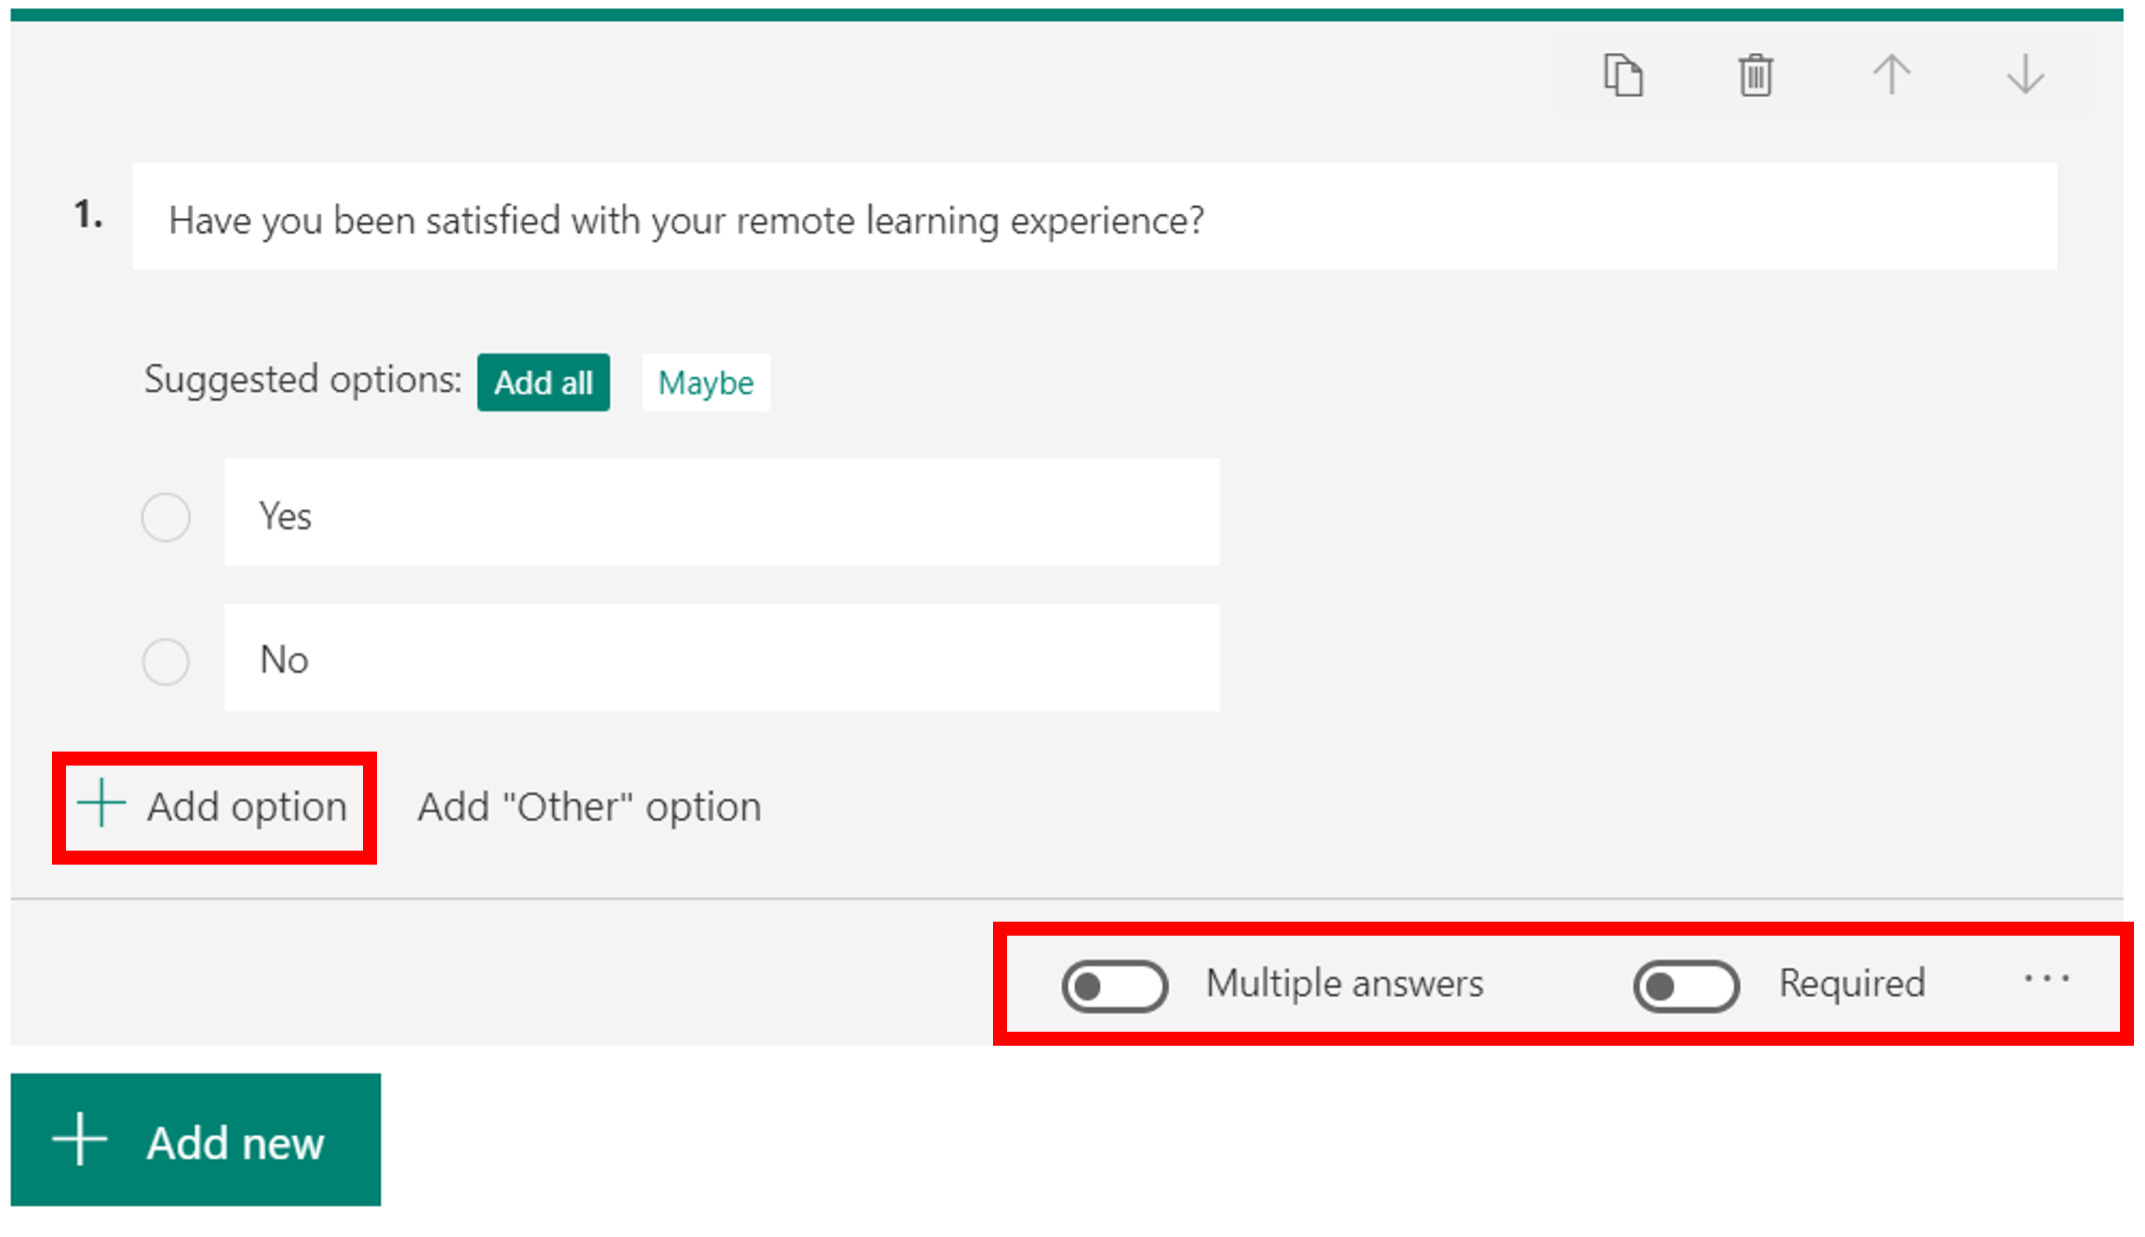
- On the bottom right you may also turn on the Multiple Answers Button to allow for students to select multiple answers, or the Required Button to make the question required in the submission of the quiz.
- There are also more options if you click on the three dots next to these buttons. We will go over those after the other question types.
Text Questions
These questions are used for short answer. Turning on the Long Answer function at the bottom right, will allow students to type answers more than 4,000 words.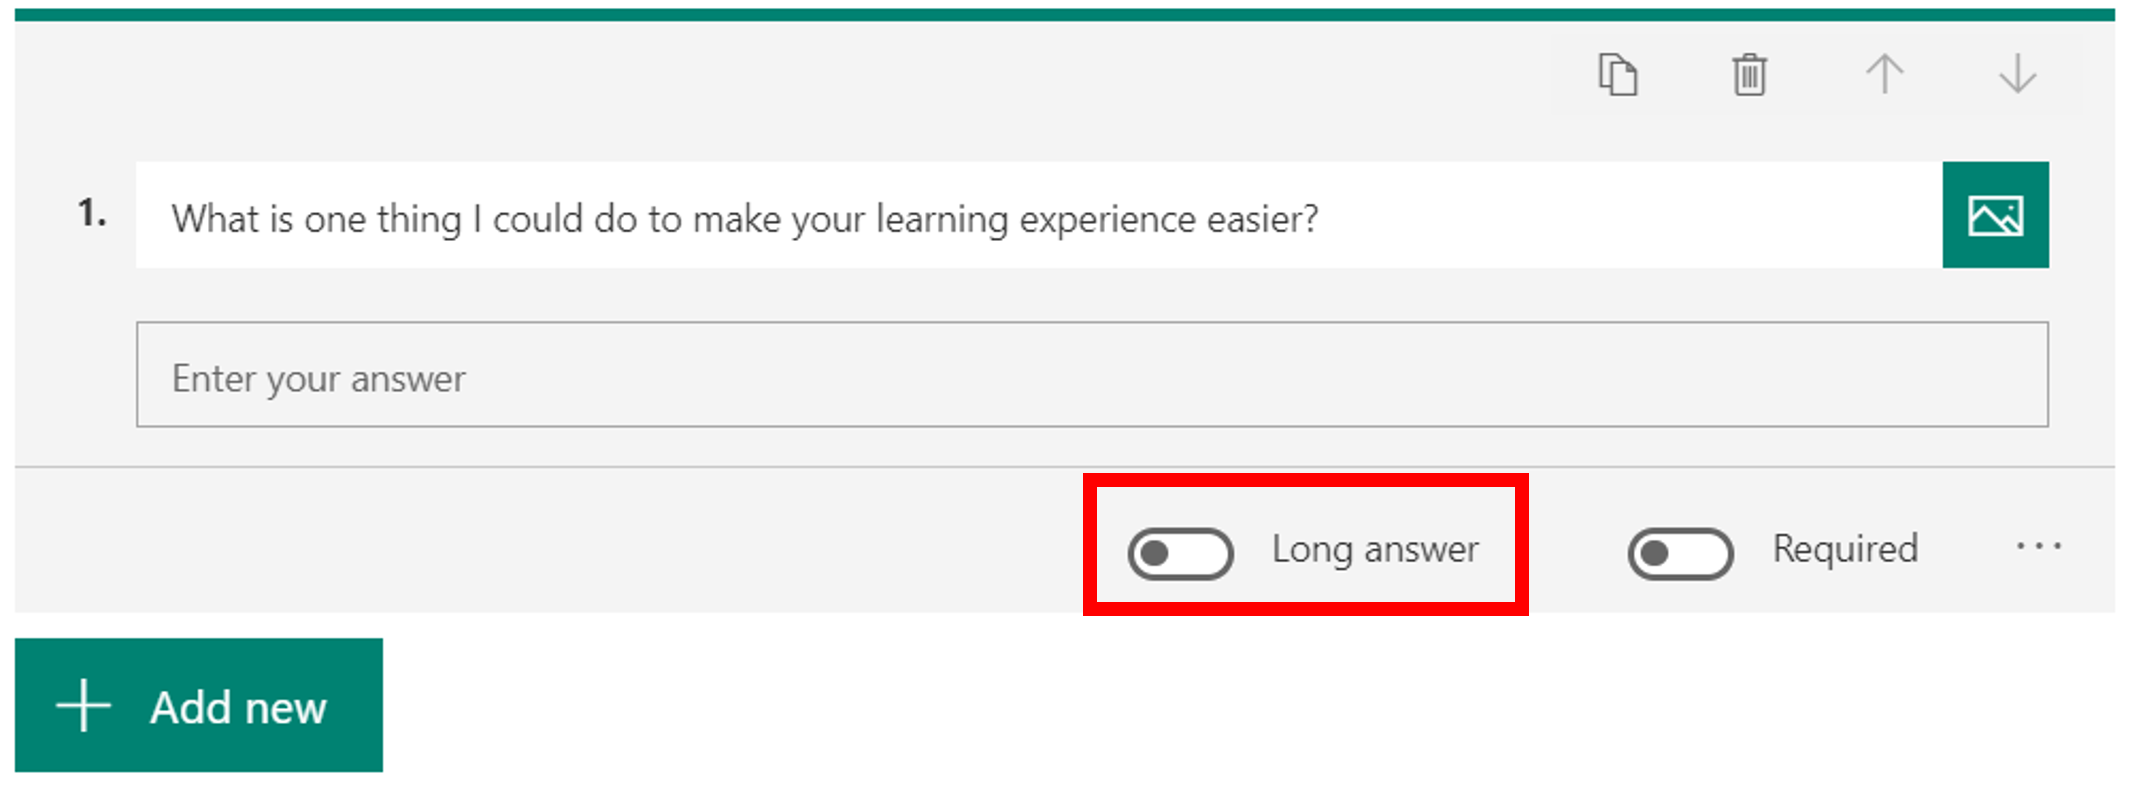
Rating Questions
These questions allow students to give a rating to something by stars or numbers with levels ranging from 2 to 10.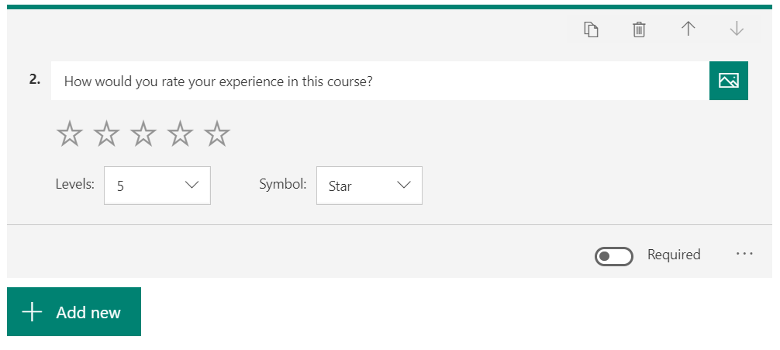
Date Questions
These allow students to pick dates from a calendar. This option works great when wanting to survey students for their availability.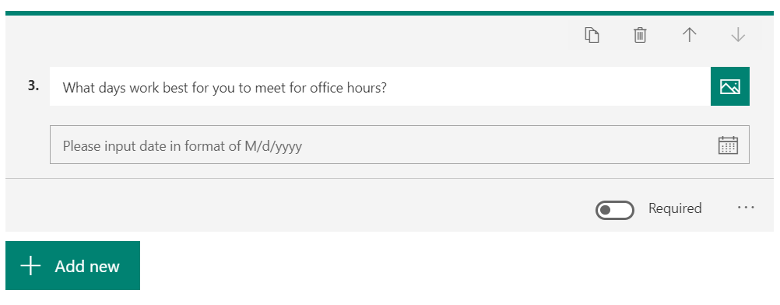
Ranking Questions
These allow students to rank answers in order of their importance, chronological order, etc.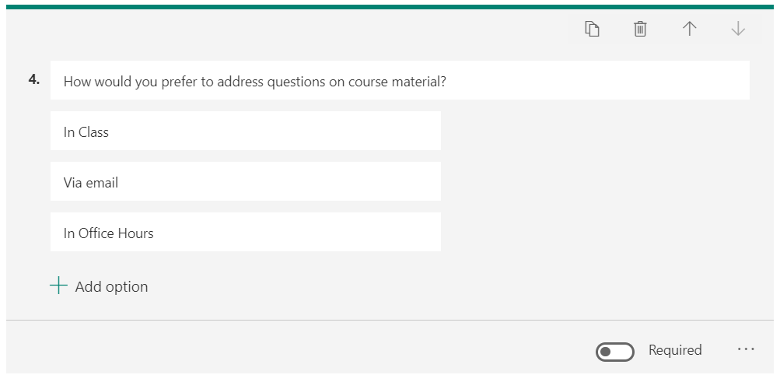
Likert Questions
These are used to gauge students’ attitudes or opinions on topics.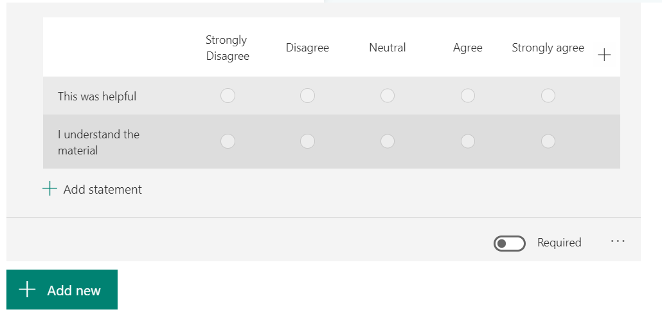
File Uploads
This allows students to upload files from their computer to the quiz.
Sections
This option allows you to break up the quiz or survey into different parts or sections. 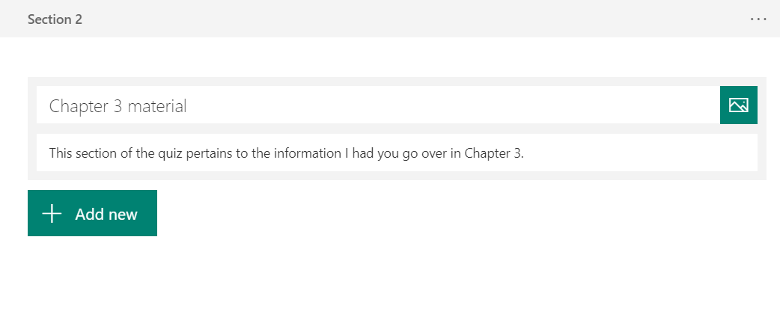
Shuffle Options
This randomizes the order of answers that your students will be selecting.
Drop Down
This option will insert your answers into a drop-down list, which may be more convenient for questions with lots of answer options.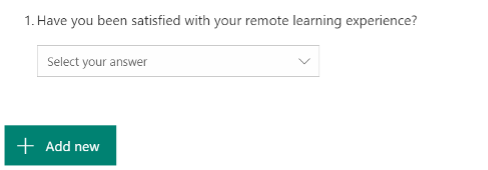
Subtitle
This will allow you to expand on your question so that students can answer more accurately.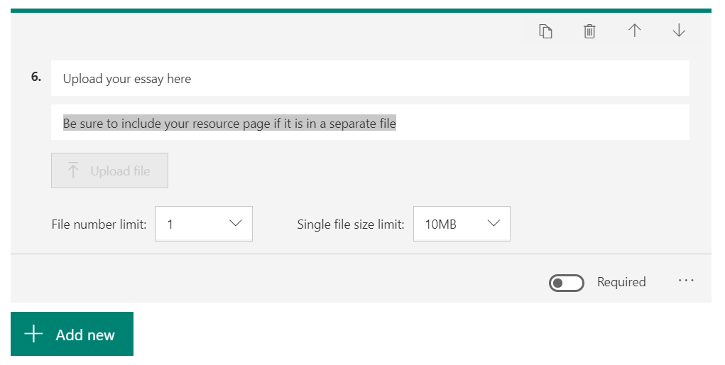
Branching
This allows you to connect certain questions or even have students jump to the end of the Form.
For example: If a student marked down that they were satisfied with the course, they would be taken to the next set of questions. However, if they marked down that they weren’t, you might want a follow up question asking why. So, upon their answer “no”, the question as to why would appear next.
After Creating Questions
- After you have set all of the questions and question settings for your poll or survey, you can preview the finished product as if you were filling it out by clicking the Preview button at the top right of the page.
When previewing the survey or quiz you can see how it looks for users on both computers or mobile devices by selecting your view in the top right. - There are also several different themes you can use to customize the look of your quiz or survey even further by clicking the Theme.
- If you click on the More button in the top right, you will be given even more options.
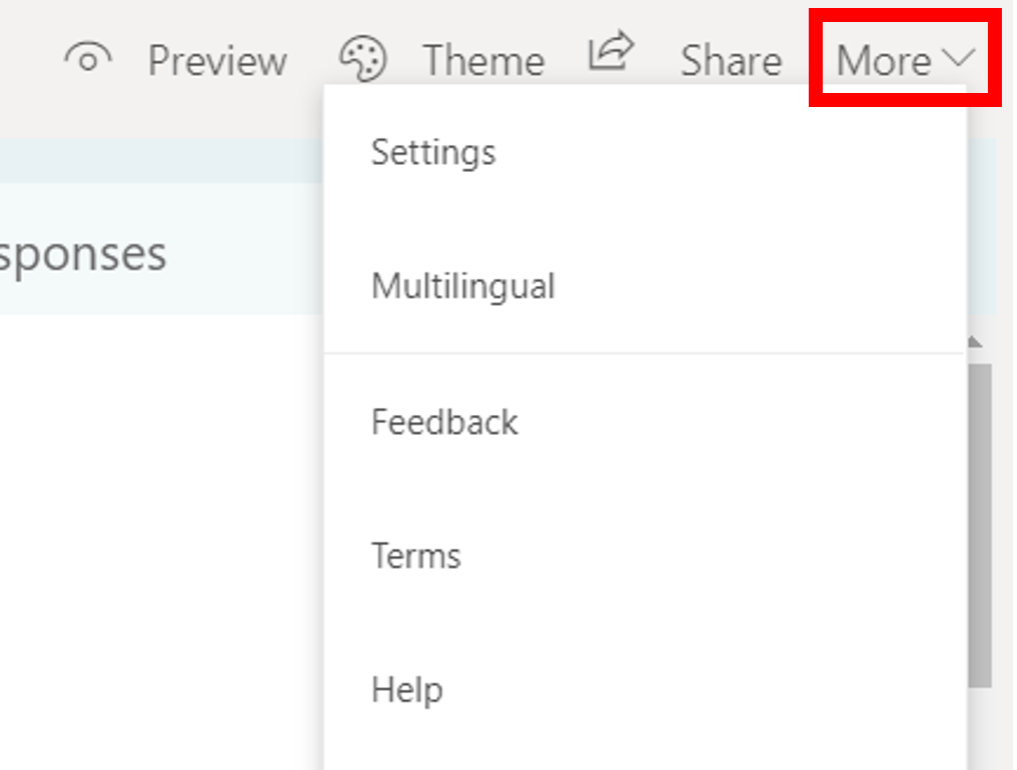
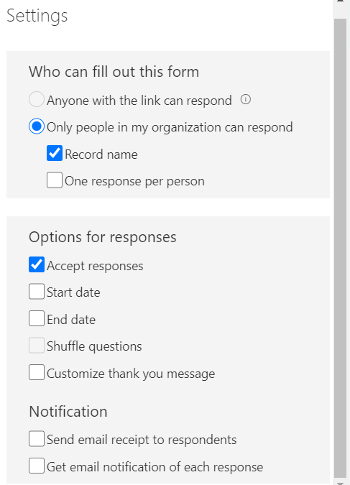
- By going into your settings, you will be given a list of options to utilize on this form. Options go as far as who can fill out the form, options for different responses, and notifications after completion.
- You can also click the Multilingual button under. This will allow you to add another language for students to choose to fill the Form out in. You will have to enter in the translations for questions that you wrote.
- Lastly to share your Form with everyone click the Share You will be given a list of different options to use. The Options include sharing a link to the Form, getting the QR code to the Form, getting the Embed code to the Form, and lastly just emailing the Form.
Sharing a form
To share the Form with your students in your Microsoft Team, simply click the Copy Link button and paste it into your Team Chat.
As students complete the form you will be able to view their responses.