
-
- Online Course Development
- Online Program Development
- Program Guidelines
- Accessible Technology
- Center for Teaching and Learning
- Contact Us
- For faculty and staff questions about online teaching or course design, submit your questions to the Learning Technologies portal.
Walk-in Consultation Hours for Faculty and Staff
Monday-Friday 9 a.m. - 3 p.m.
Room 326 Raynor Library
For more in-depth questions and course consultations, schedule an appointment with one of our Instructional Design and D2L Specialists
PROBLEM WITH THIS WEBPAGE?Report an accessibility problem
To report another problem, please contact emily.newell@marquette.edu.
OneNote Class Notebook
D2L Integration Setup (for Instructors)
- Navigate to Content (navbar) and create a module.
- Click 'Add Existing Activities' button to select External Learning Tools.
- Select OneNote Class Notebook.
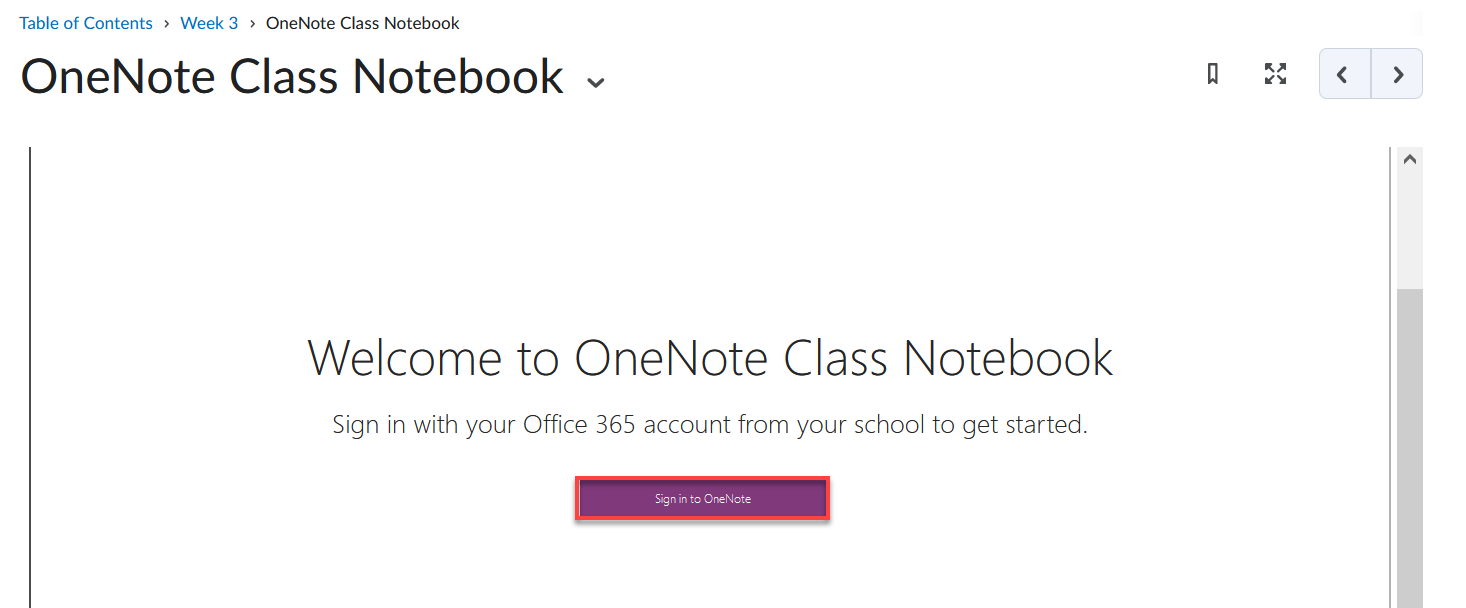
- Click the newly created 'OneNote Class Notebook' hyperlink.
- You may be prompted to sign in to OneNote.
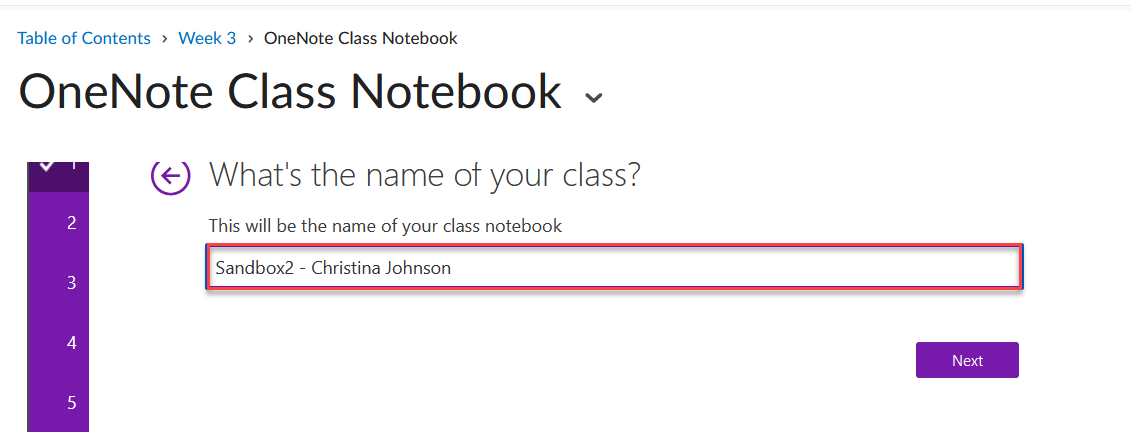
- The name of your course should appear in the class notebook name field. Click Next.
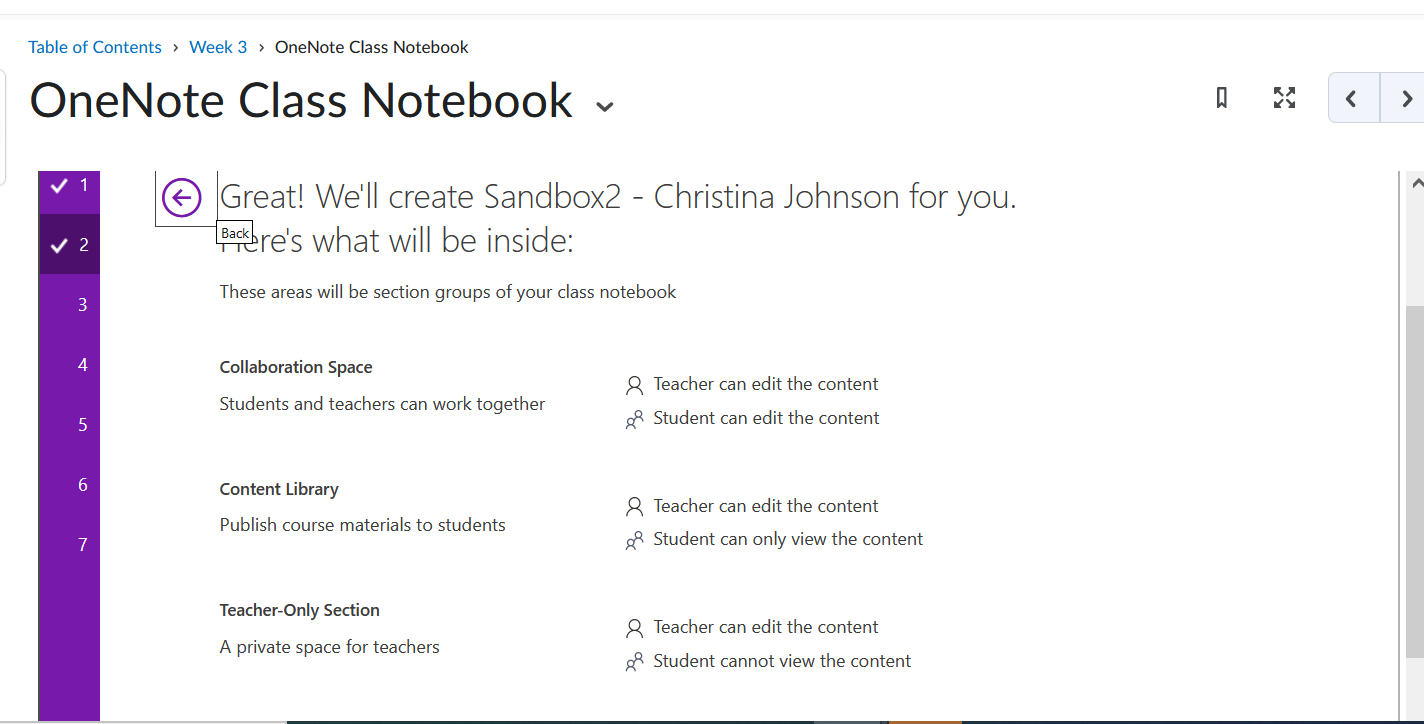
- A summary of the sections of your notebook will be displayed. Click Next.
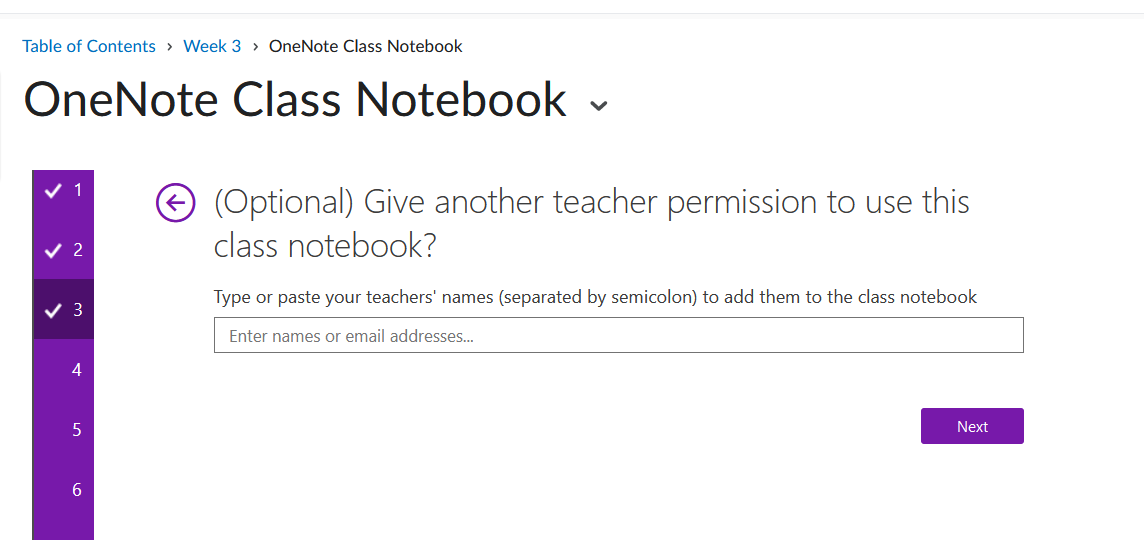
- (Optional) Add a teacher to use the class notebook by entering the instructor's email address. Click Next.
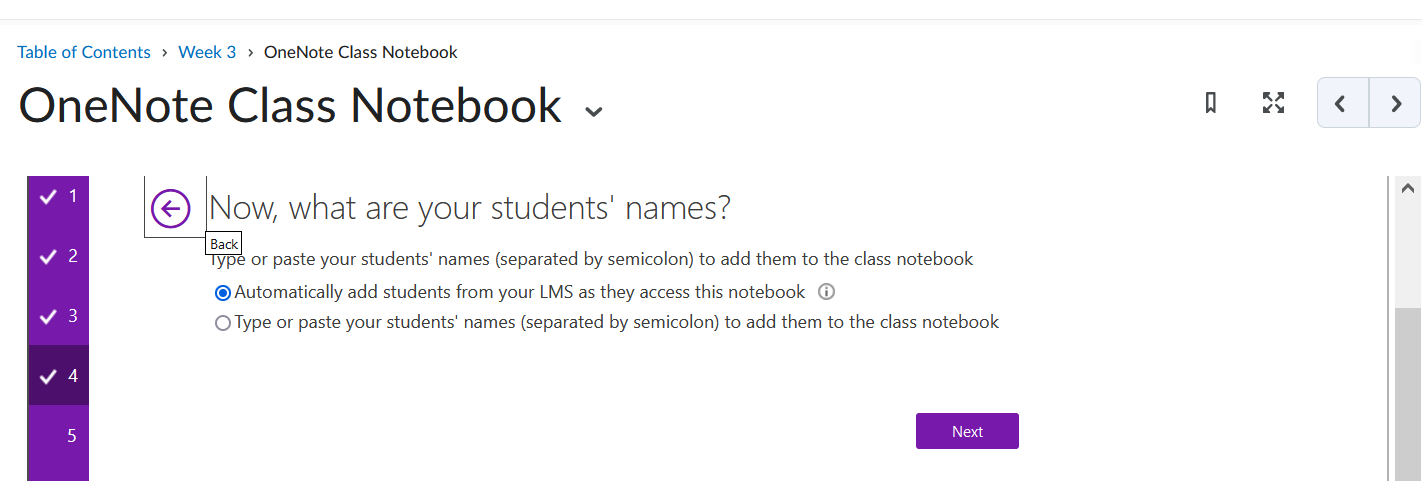
- The default is set to automatically add student from your LMS as they access the class notebook. Click Next.
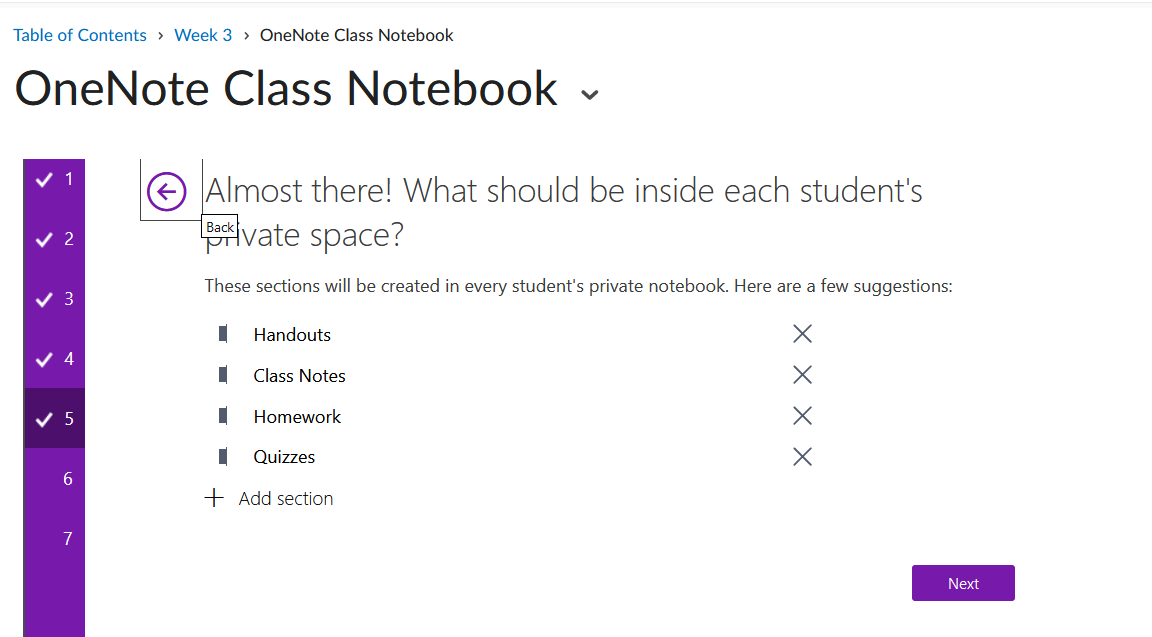
- Customize what is available in each student's private notebook. Click Next.
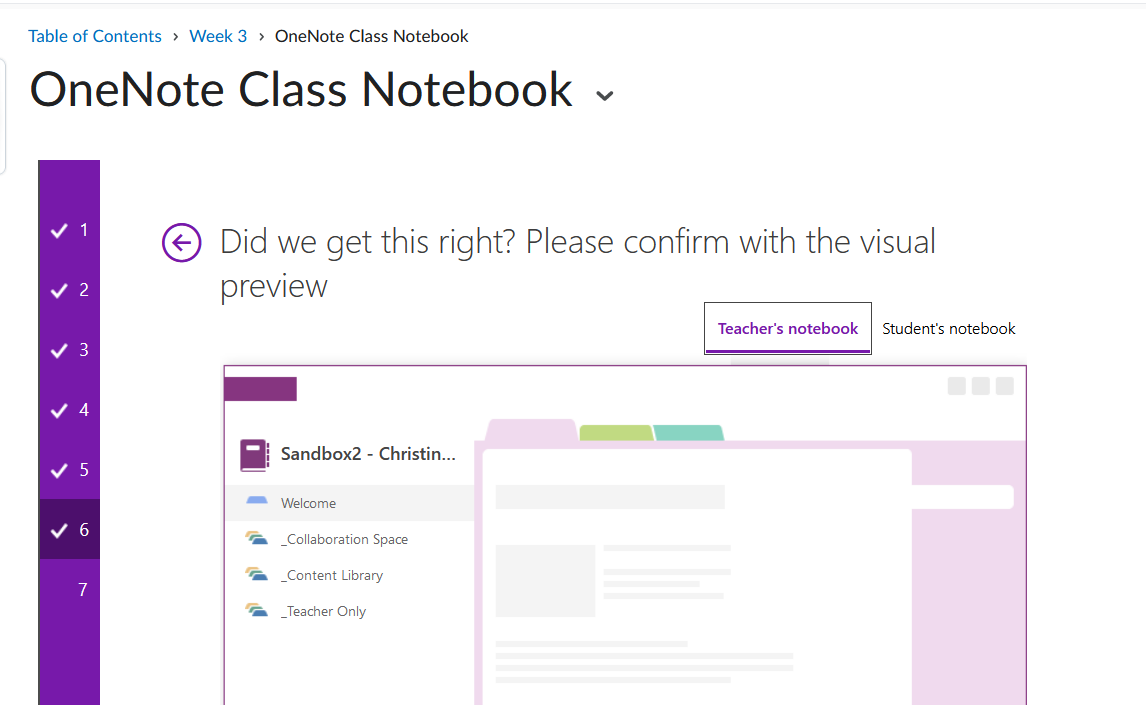
- Confirm your selections by clicking the Teacher's notebook tab and Student's notebook tab to view their contents. Click Create.
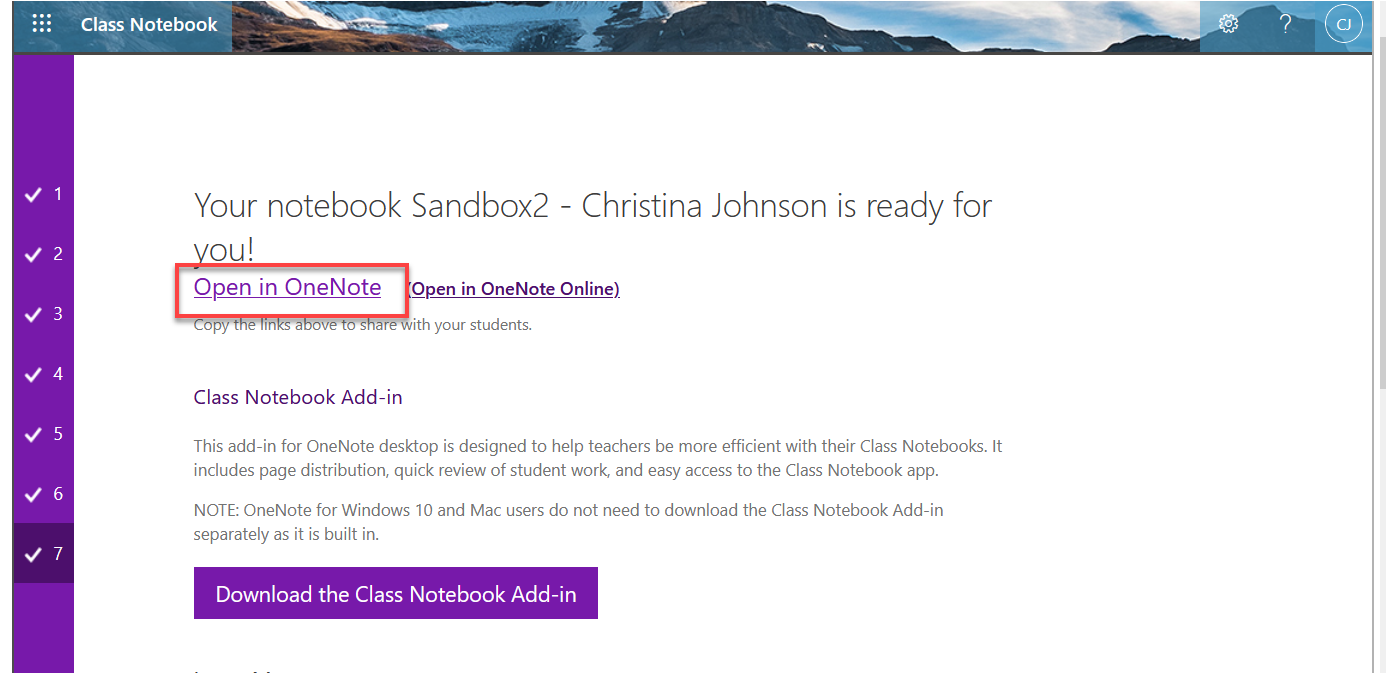
- The notebook is configured. The Open in OneNote quicklink is available to copy and share with your students. A Class Notebook Add-in download button is available for those who are not using Windows 10 or mac because it is built in.
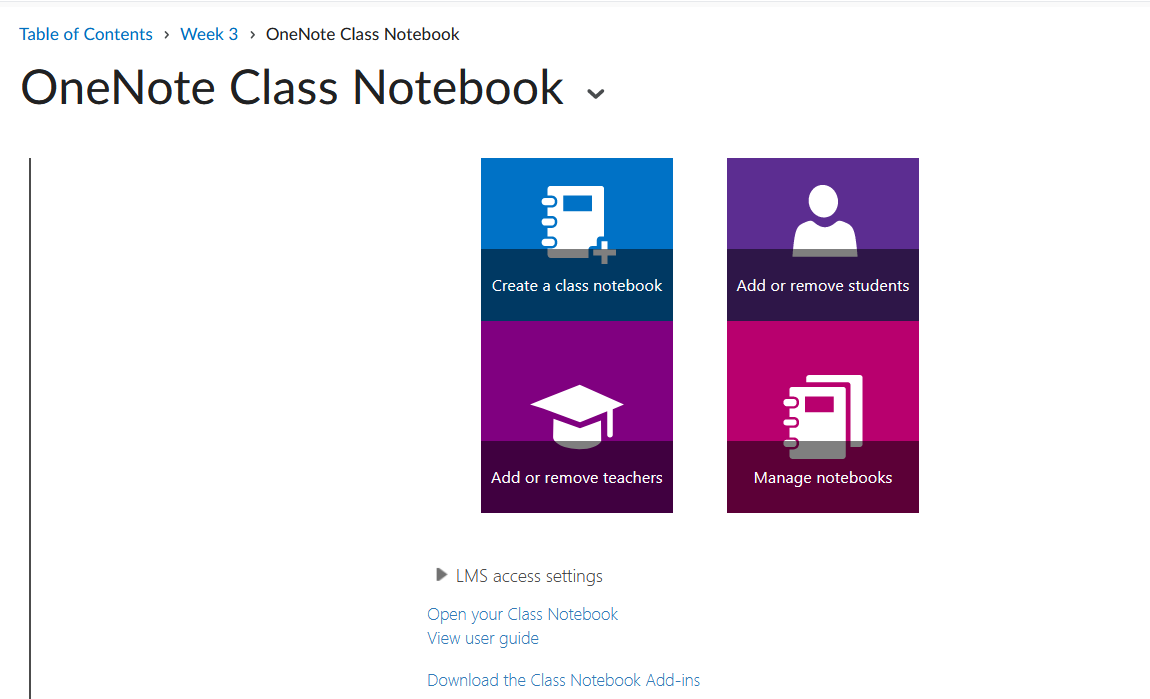
Instructor View after the integration is completed
You will have access to four tiles: Create a class notebook, Add or remove teachers, Add or remove students and Manage notebooks. Below the tiles will be three links: Open your Class Notebook, View user guide and Download the Class Notebook Add-ins. It is possible to create student groups. Additional help guides.
Student view of class notebook
-
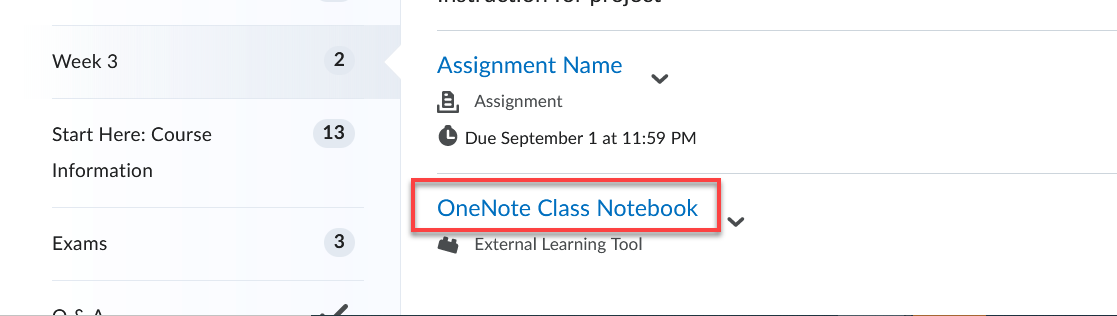
- Students click on the OneNote Class Notebook link found in the module.
- Students have a choice on clicking Open in OneNote or Open in OneNote Online.
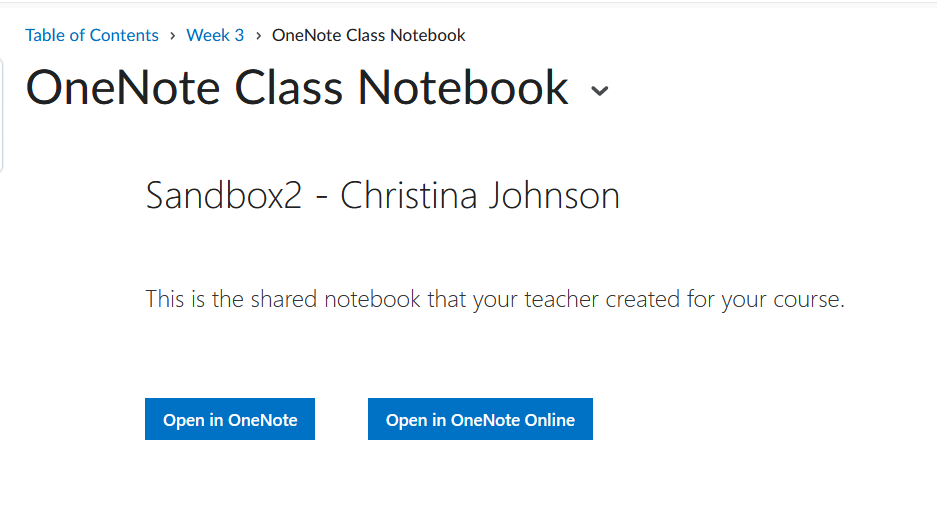
- Students access the OneNote Class Notebook.
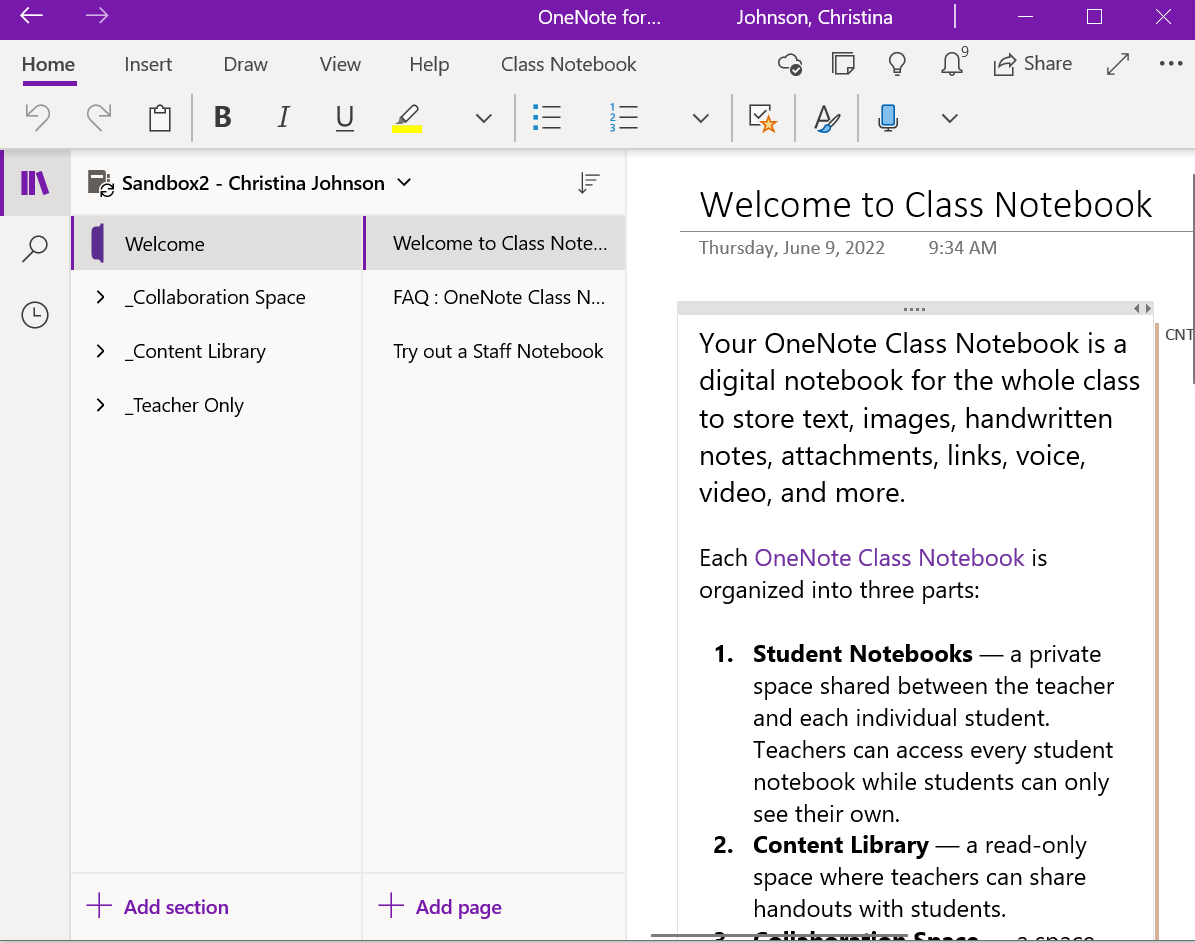
- Students should contact the TechSquad for tech support.
- Students click on the OneNote Class Notebook link found in the module.
Note to Instructors:
- Students will start appearing under the Student Notebook tab once they click the OneNote Class Notebook link.