-
- Online Course Development
- Online Program Development
- Program Guidelines
- Accessible Technology
- Center for Teaching and Learning
- Contact Us
- For faculty and staff questions about online teaching or course design, submit your questions to the Learning Technologies portal.
Walk-in Consultation Hours for Faculty and Staff
Monday-Friday 9 a.m. - 3 p.m.
Room 326 Raynor Library
For more in-depth questions and course consultations, schedule an appointment with one of our Instructional Design and D2L Specialists
PROBLEM WITH THIS WEBPAGE?Report an accessibility problem
To report another problem, please contact emily.newell@marquette.edu.
Building your Course in D2L
Walkthrough
Find your D2L course
Course Selector
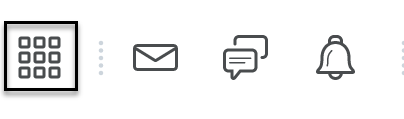
The course selector is found at the top of the page, in the minibar, of the D2L site. You will find it whether you are on the D2L home page or in a course.
Select the waffle or course selector to search for your course in the drop-down list.
My Courses Widget
Scroll down the D2L home page to find the My Courses widget organized by term.
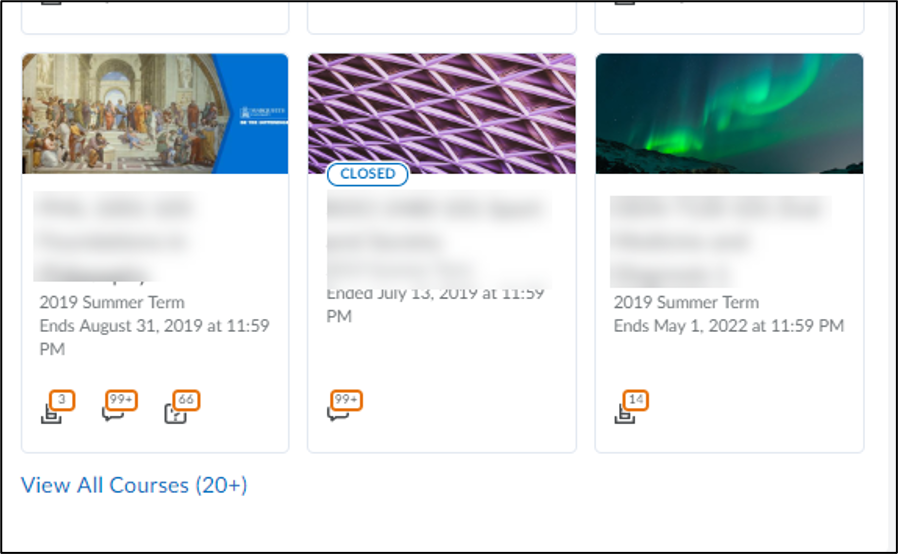
When you click View All Courses, a new window will appear, as shown:

- Find a course allows you to find a specific course with the courses name, number and section.
- Course name allows you to order the appearance of the courses in order of the course name, course code, date pinned or last accessed.
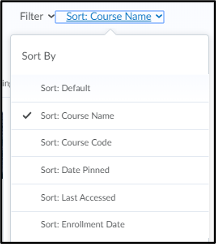
Sort by Course Name
Allows the user to change the order that they will see their courses.
 Pinning a Course
Pinning a course allows for the user to find the course readily without having to search for it.
Select a course from the My Courses widget and hover over the ellipsis to select Pin. The course that is pinned will now appear on the user’s D2L home page and under the course selector list. To unpin, select the Pin icon again.
A course can be pinned under the course selector (waffle). Under the course selector, select the pushpin icon selected next to the name of the course and deselect the pushpin icon to unpin a course.
Change course image
- Hover over the right-hand corner of the present image, click the box with three dots inside (ellipsis) to select Change Image.
- A window will open to give you options to change from a library of images or to upload an image.
- Enter a general name in the Search box (e.g., outdoors) to select an image.
- Select Upload to add a personal computer from your device.
D2L Course Navigation

Main Navigation Bar: The default Marquette main navigation bar (navbar) is the following: Course Home, Content, Classlist, Communication, Assessments, Resources and Edit Course. It is suggested to not customize the navbar so students receive a consistent layout from course to course.
- Course Home: This is a space to post messages (with the News item) for your students to see upon logging into D2L. There are other tools found on this page, such as updates, bookmarks, library help, and calendar.
- News: News is located under the Main Navigation Bar and course image/banner. Any News Item that you create will be displayed in the Course Home. This space allows you to post important updates without having to go through email. You can attach links and videos to a News Item.
- Calendar: In this area you can add events and view them by date, course, or category (e.g., dropbox assignments, checklists, discussions, etc.). It alerts users to new quizzes, discussion posts, and items in the Dropbox. Any item with a due date entered will populate the calendar.
- Content: The content page is where the course materials should be posted. You can create modules, submodules and topics to organize your content. Use of submodules is discouraged because it adds an additional layer of complexity to finding the content. Modules are like folders; it is a way to group items together. Topics are your links and files for the course found in a module or submodule.
- Classlist: Access your student list and email one, several or all students. Enrollment Statistics is available at the top of the page to display number of enrollments and withdrawals. A listing of names of those withdrawn appears at the bottom of the page. For more information visit the Classlist guide.
- Communication (Discussions/Groups): This space allows for collaboration with the entire class or in small groups. Discussions is asynchronous. Use Microsoft Teams for a synchronous meeting.
- Assessments:
- Dropbox: Create digital folders for students to submit work for individual or group assignments. Only the instructor can view the students’ submissions. The Dropbox allows you to grade items and provide written or audio feedback. You can also upload the assignments marked up with your comments or corrections. Files are saved there throughout the semester. Turnitin (plagiarism and grammar checker) can be enabled.
- Quizzes: Assess student knowledge of material. These can be high or low stakes quizzes, or a space for students to take practice exams. Both objective and subjective exams can be created in this environment. Proctoring software (LockDown Browser and Monitor) can be enabled.
- Grades: This feature allows you to keep a running grade book throughout the semester that permits the students to see their individual grades. In addition to a numeric grade, you can also provide timely, formative feedback.
- Rubrics: Create holistic and analytic rubrics to attach to assessments so students know specifically how you grade them. This also allows the instructor to provide grading feedback within the rubric.
- Surveys: Poll students, whether anonymously or not, and then gather that data to generate a report.
- Competencies: Monitor students' completion of competencies and learning objectives within your courses and programs.
- Resources: Other features such as calendar, attendance, locker, are grouped here for those faculty and students.
- Edit Course: This allows you to go behind the scenes of your course and provides access to some of the tools you already find in the Main Navigation Bar. Access Manage Files and Manage Dates to obtain an overall view of the contents and due dates in your course.
Brightspace Editor
The Brightspace Editor includes features such as an advanced source code editor, emoticon and symbols menu, word count, and advanced image editing options.

Hightlighted Features
- Insert Stuff Button (play button icon
 ): Allows you to embed video and audio (URL and embed code), images from Flickr, YouTube videos, and upload documents from your courses on D2L and your computer.
 - Insert Quicklink (chain icon
 ): Allows you to insert D2L course files, D2L activities, URL and external learning tools.
 - Link Image (image icon
 ): allows you to insert a link to a URL and to other content in your course.
- Drag and Drop or Copy and Paste images into the description text box for the following tools:
- Content Module/Topic Descriptions
- Quiz or Survey - Description, Header, Footer
- Quiz - Feedback
- Grade item (Manage Grades) - Description
- Grades - Feedback and Comments
- Content Course Overview descriptions
- Discussions - Forum/Topic descriptions, Feedback
- Edit Image: Click on the image to access the floating toolbar and select Edit Image icon.
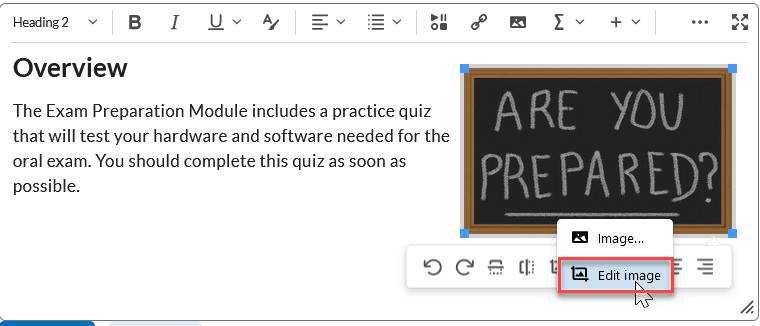
Editing an image
- Using Edit Image in the floating toolbar will save a copy with the name of the original image along with date and time it was edited.
- Find the copy of the image in Manage Files.
- Drag and Drop or Copy and Paste images into the description text box for the following tools:
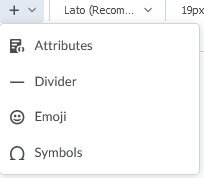
- Plus sign drop-down arrow: (next to the insert table option) will allow you to insert attributes, divider, emoji and symbols.
-
Accessibility Checker (eye with checkmark icon
 ): Will check for accessibility issues and provide ways to correct them (e.g., provide alternative text or check image is decorative).
 - Word Count (magnifying glass over text icon
 : Provides number of words, characters and paragraphs in the document and selection.
Context Link Menu Options
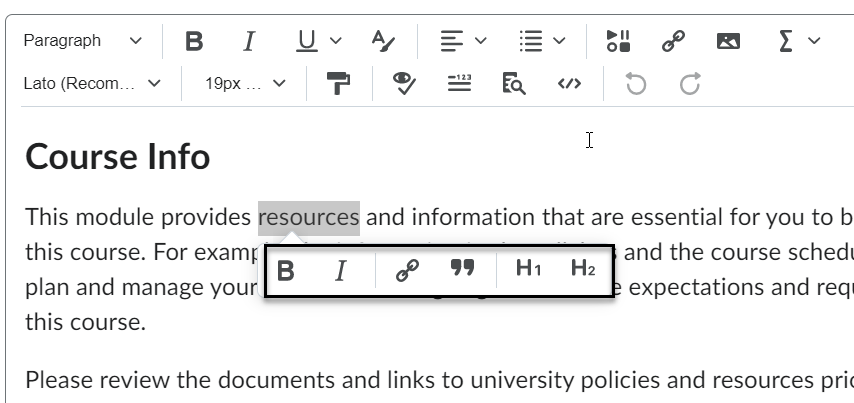
The menu of options for highlighting text in a description box include:
- Create a link
- Edit a link
- Remove the link
- Preview the link
- Preview link that contain replace strings
Context Link Menu
Highlight text to view the context menu minibar.
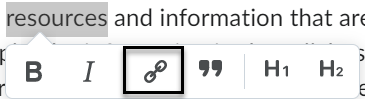
Content Link
Highlight text to view the context menu minibar. Click the Insert Quicklink (chain) icon in the minibar to insert a URL in the field for the highlighted text or click the Insert Quicklink to the right of it to insert course materials. Select Apply.
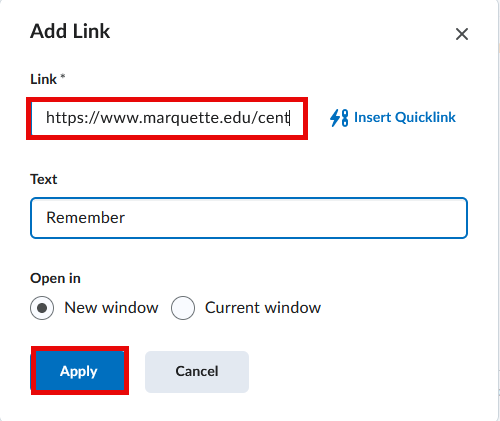
To remove the link, click on the hyperlink and select the Insert Quicklink (chain icon) once. Select the Update button to save your edits.
Adding Content
Creating a Module
Modules are like folders into which you can upload or create topics including files, videos, and other D2L content such as dropbox, quizzes, and discussions. Topics are items in your module.
- Click on the Content button on the main navigation bar (Navbar).
- Click below the table of contents that says Add a Module to enter a name. The module will automatically be visible for students. Click on the eye icon to toggle to hidden if you are still building the module.
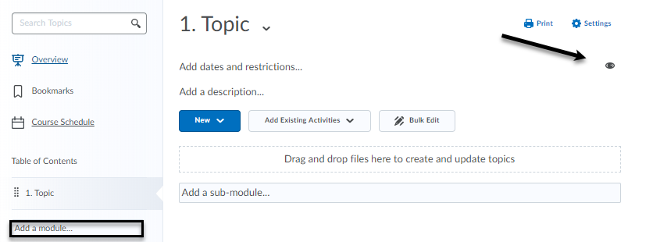
Note: The name of your module is like a folder for the students, so the name should be representative of what is in the folder (e.g., Course Documents, Course Information, Readings, Week 1 Topic Name, etc.).
- Below the module name you can add a short description for students and control when the module is visible by adding dates and restrictions. (Release conditions can be created so students must complete an activity to have access to this module.) Use either the New blue button or Add Existing Activities button to upload your topics to your module.
Uploading Documents to a Module
To upload your document, you can upload a file or drag and drop.
- Drag a file from your computer to the space that says Drag and drop files here and update topics.
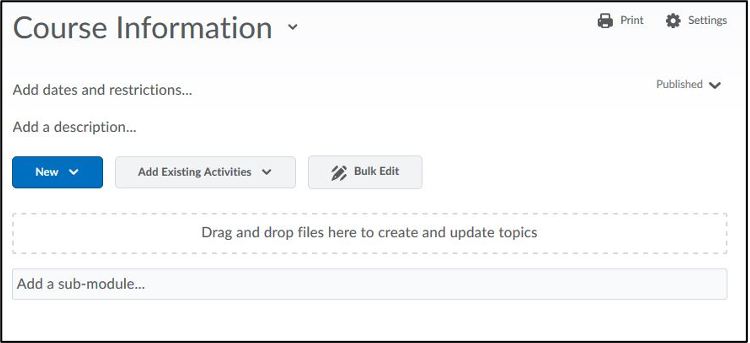
- Upload a file by clicking on the button that says New. Select Upload Files. Again, you can drag the file here or click Upload Files to search your computer or course for the document. Once you’ve selected it, click on Add.
Note: The syllabus is required to be uploaded to D2L for all courses.
Media Library
- All recordings (public or private) and videos will be available in the Media Library option.
- It is best practice to title your recordings using a naming convention that will remind you whether the recording is a public vs. private feedback.
Add Existing Activities
- The activity would need to be created in the tool before inserting into the module unless you use the New blue button to create the activity directly in the module. Refer to the D2L dropbox, quizzes, or discussion guide for details. If interested in creating a group dropbox or group discussion, a group would need to be created first.
- Select the activity (e.g. discussion, quiz or dropbox) you would like to insert in the module from the Add Existing activities button.
- Media Library allows you to manage and insert your audio recordings and videos in a module. Filter media by content type, source, date modified and date created.
Video Walkthrough
Deleting Content
Delete a Module
- Go to the module.
- Click on the drop-down menu next to the module title and select Delete Module.
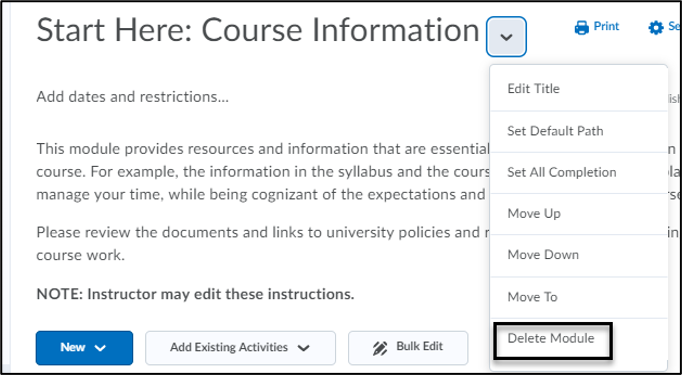
- A dialog box will open with two options:
- Remove the module and all nested modules and topics from Content but keep all associated files and activities in the course.
- Permanently delete and remove all nested modules, topics and all associated files and activities from the course.
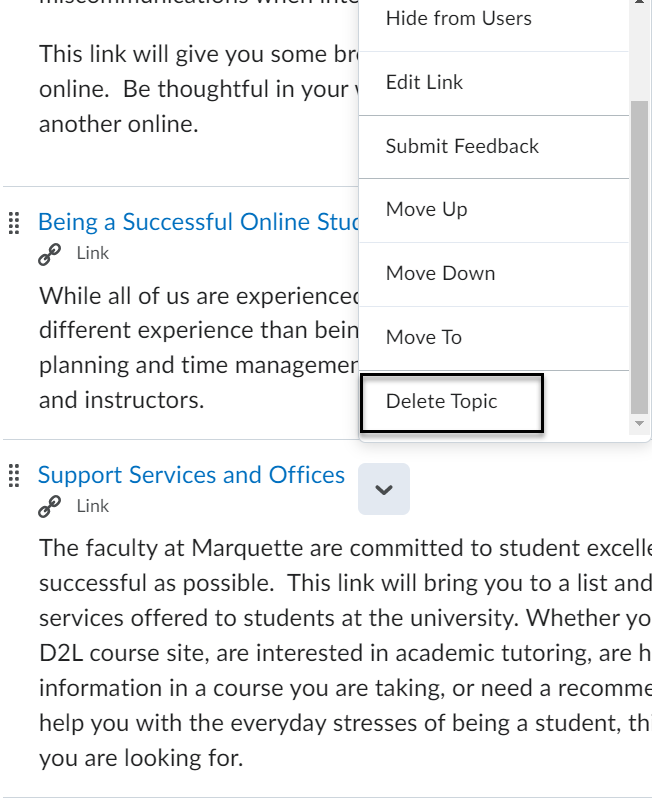
Delete a Topic
- Go to the module.
- Click on the drop-down menu next to the topic title and select Delete Topic.