How Do I Register for Classes in CheckMarq?
Before You Start
The registration process will be easier if you know the courses for which you would like to register in advance. There are three ways to search for classes.
- Search the class schedule in CheckMarq through the process described below to identify classes and add them to your shopping card.
- Use the online Class Search website, and write down the class number of each section you want to take. Remember that Class Search is updated nightly. Although Class Search indicates Open or Closed status, that may have changed since Class Search was last updated. You may want to note several alternative choices when planning your schedule.
- Use the Schedule Planner website to develop a class schedule and either send the schedule to your shopping cart or enroll directly in Schedule Planner.
Before attempting to register for classes, check that no holds exist and review when you can begin registration.
Step 1: Log in to CheckMarq and click or tap the Manage Classes tile.
Follow this link for details on how to navigate in the CheckMarq Student Home.
Step 2: Select term and click or tap Continue
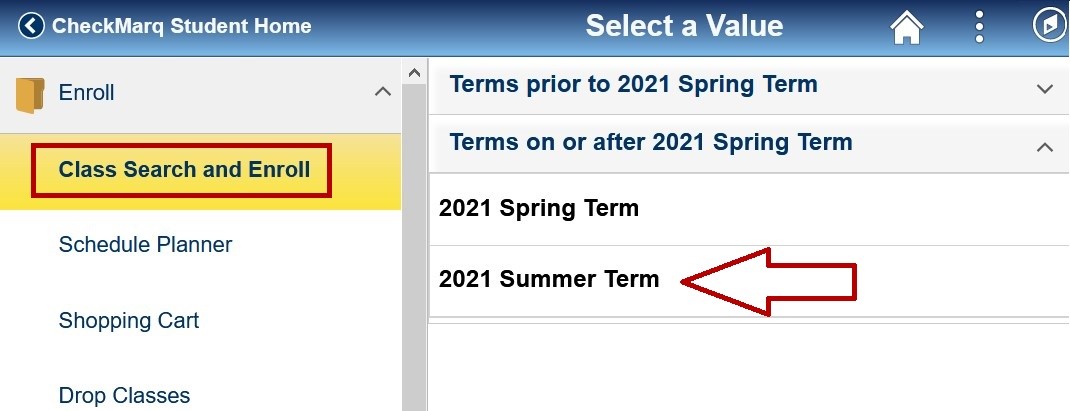
In the left-hand navigation menu, click or tap Enroll > Class Search and Enroll. (it is not possible for you to register via Checkmarq before your assigned time, but you can search for classes and add them to your shopping cart.)
Select the term for which you are registering.
Step 3: Enter your Initial Search Criteria
There are a number of ways to search for classes. Try any combination of the following:
- Use the search bar to type a keyword from the course title, class topic or subject.
- If you have already looked up the class number of a specific section from Class Search, enter the four-digit class number in the search bar.
- If you know which course you want but not which section, type in a course code (e.g.: BIOL 1001).
- Click the Additional Ways to Search link to search by subject, catalog number, or instructor last name.
Feel free to keep this initial search broad; you can narrow your results in the next step.

Step 4: Use Filters to Narrow your Results
Use the filters on the left-hand side of the search results to narrow your options. Then click on a specific course to view the available sections that match your filters. 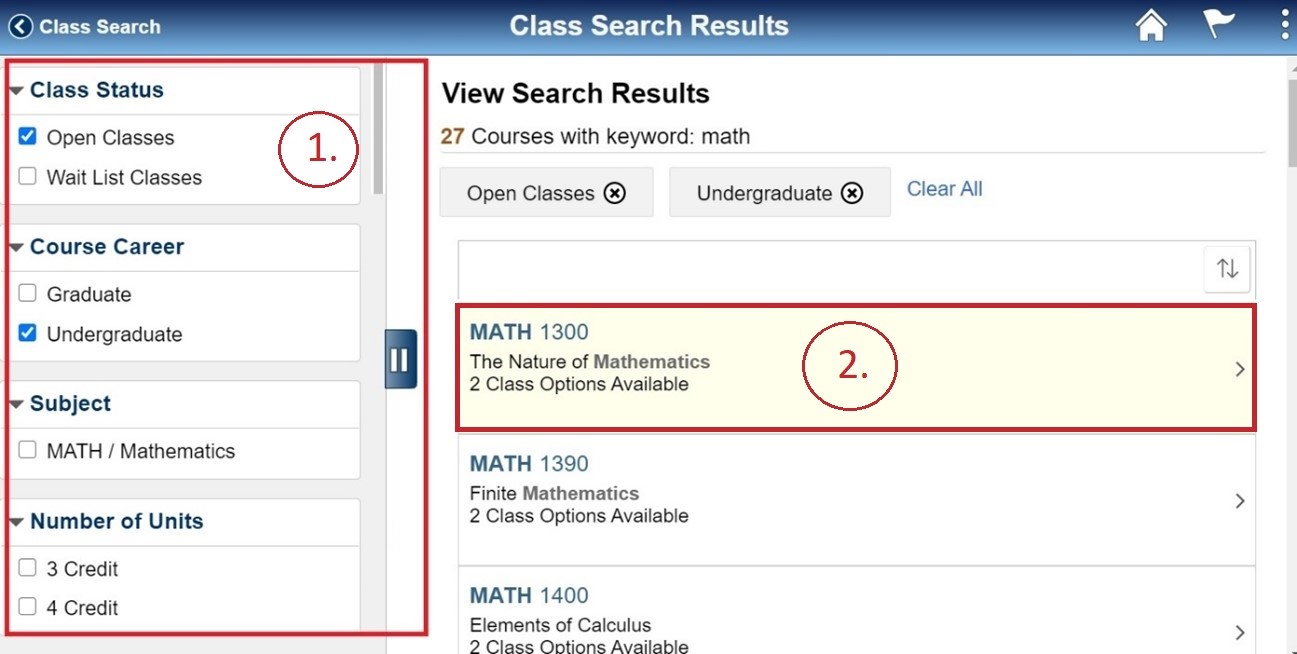
Note: If you are using a smart-phone or tablet, click on the filter icon  to filter your results.
The filters automatically adjust based on the remaining class options. If you don't see the option you want under a specific filter, try clearing some of your other filters to broaden the options.
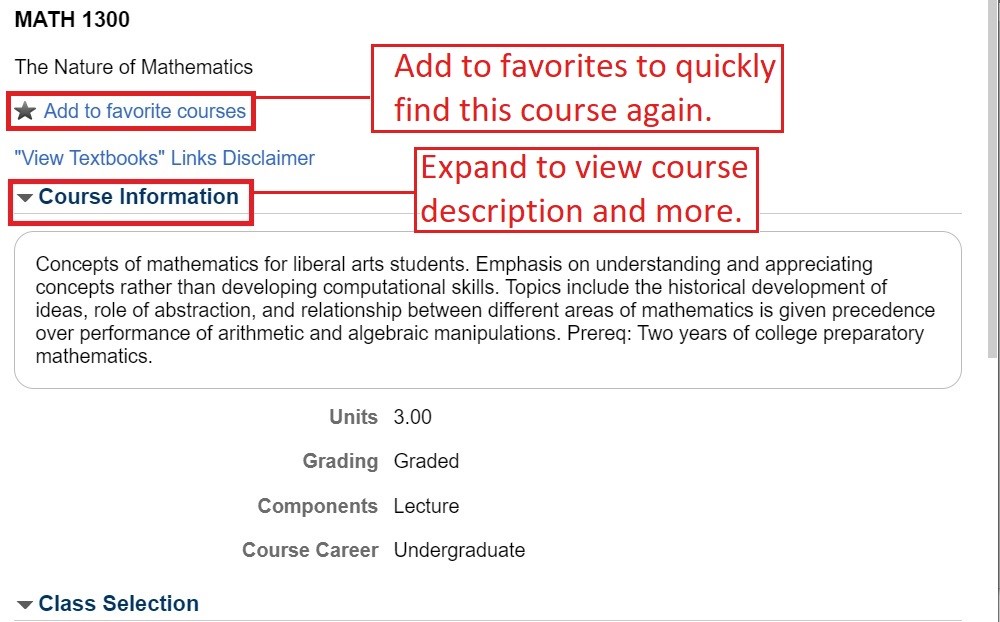
Step 5: Review Course Information
After you click on a course, you'll be taken to a page with more details about the course and a list of class options.
Click on Course Information to expand it and view the course description and other details.
Step 6: Select a Class Option
In the Class Selection section, you will see a list of class options meeting your search criteria.
- Click on the blue class section link to view more details about a specific section, including class attributes and prerequisites.
- Click on the blue View Textbooks link to be taken to the Barnes & Noble Bookstore webpage for this section.
- To enroll in a class or add it to your shopping cart, click on the white space anywhere within that option row.
- Note: if you have not been activated for the term, you will not be able to enroll or add the class to your shopping cart. Check with your College Office.

Step 7: Enroll or Add to Shopping Cart
After you click on the class section you want, you will be taken through a series of screens to enroll in the class. Use the buttons on the upper right-hand corner to navigate through these screens.
In the Review Class Preferences step, you can enter a permission number if you have one, add yourself to a waitlist if one exists, and select another class to drop if you are enrolled from the waitlist, and specify the number of credits for a variable-credit class.
If your enrollment appointment has not yet begun, the class will be added to your shopping cart. If your enrollment appointment has already started, you can choose between enrolling now or adding the class to your shopping cart to enroll later.
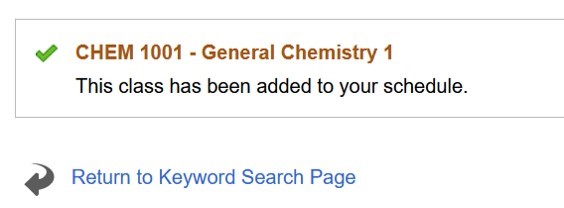
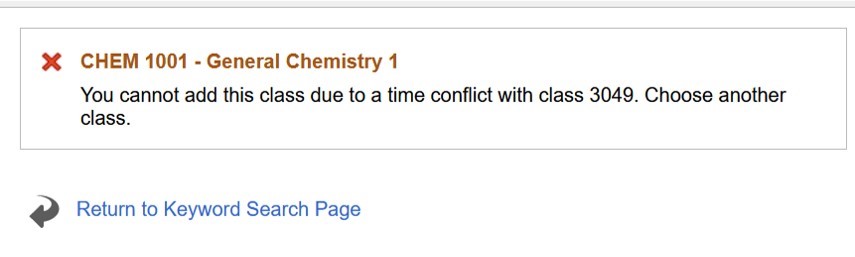
Once you have entered all of your preferences and clicked Submit, you will see a message indicating the class has been successfully added, or that an error prevented you from registering. If you see an error message, make a note of the reason you could not be registered. See Handling errors found in registration for more information. You might need to obtain a Permission Number or find another class sections.
Step 8: Enrolling from your Shopping Cart
If you added classes to your shopping cart, you can access them by clicking or tapping on the Manage Classes tile, and selecting Enroll > Shopping Cart from the left-hand navigation menu,
Click or tap the Change Preferences link to enter a permission number, add yourself to a waitlist (if one is available), select a class to drop if you are enrolled from the waitlist, change your variable credits, or change a lecture/lab/discussion component.
To enroll, drop, or verify classes in your shopping cart, first click or tap the Select box to the left of the classes on which you want to take action. Then use the buttons in the upper right-hand corner to take the following actions:
- Enroll: This button will only appear once your enrollment appointment has begun. Click or tap to enroll in your selected classes.
- Delete: Click or tap to remove the selected classes from your shopping cart.
- Validate: Click or tap to check the selected classes for possible errors, such as holds, prerequisites, or course conflicts. If you get an error message back, make note of it so that you can resolve the issue. See Handling errors found in registration for more information.
Note: the Validate feature does not check whether or not a class is full or waitlisted. Please double-check the Availability column in your shopping cart.

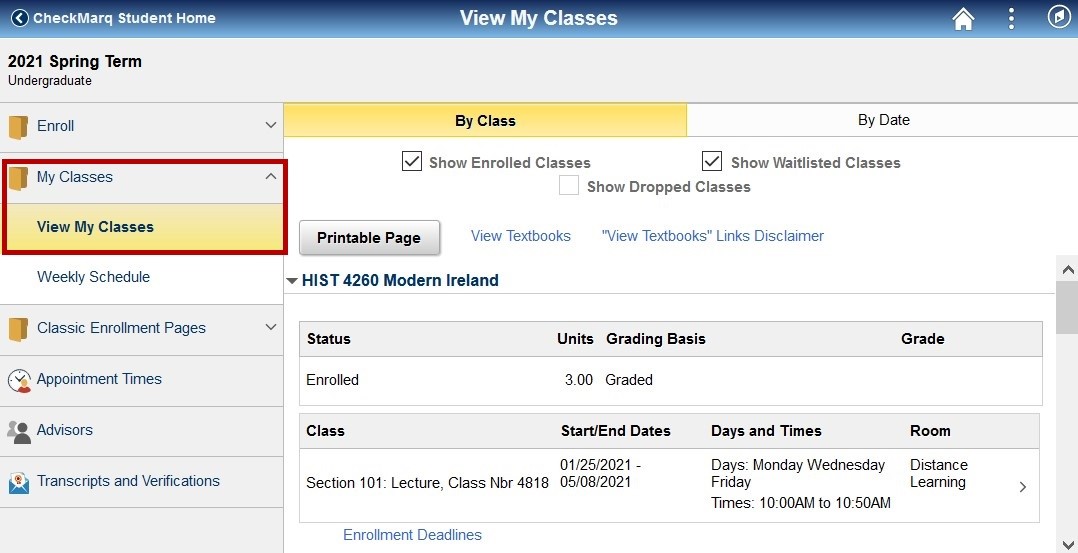
Step 9: View My Classes
To review your class enrollment, navigate to the Manage Classes tile and select My Classes > View My Classes from the left-hand navigation menu. Select the term you in which you just enrollment, and scroll down to view all of your enrolled and waitlisted classes.